Python+uiautomator2实现手机锁屏解锁功能
业务需求:需要测试手机滑动解锁失败时事件的次数及等待的时间,本来想利用Python+Appium实现,但是Appium运行时自动给我解锁了....
部分解释摘抄自:https://testerhome.com/topics/11357
python-uiautomator2是一个自动化测试开源工具,仅支持Android平台的原生应用测试
python-uiautomator2封装了谷歌自带的uiautomator2测试框架,提供便利的python接口。他允许测试人员直接在PC上编写Python的测试代码,操作手机应用,完成自动化,大大提高了自动化代码编写的效率
以下图片使用Windows画图软件

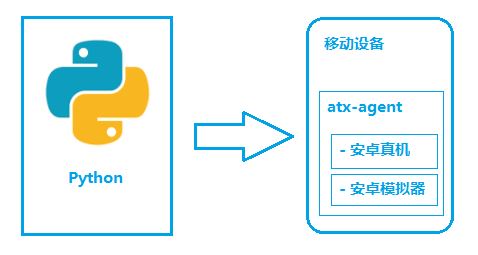
如图所示,python-uiautomator2主要分为两个部分,python客户端,移动设备
python端: 运行脚本,并向移动设备发送HTTP请求 移动设备:移动设备上运行了封装了uiautomator2的HTTP服务,解析收到的请求,并转化成uiautomator2的代码。整个过程
在移动设备上安装atx-agent(守护进程), 随后atx-agent启动uiautomator2服务(默认7912端口)进行监听 在PC上编写测试脚本并执行(相当于发送HTTP请求到移动设备的server端) 移动设备通过WIFI或USB接收到PC上发来的HTTP请求,执行制定的操作安装工具 Python2或者Python3均可。(也可以尝试使用Android上Python客户端:QPython) 移动设备环境搭建安装adb
如命令行可以执行adb devices,则跳过此步骤从谷歌官网下载Android Platform Tools https://developer.android.com/studio/releases/platform-tools.html,解压,并加包含adb.exe的目录加入到系统的PATH中。
安装python-uiautomator2
pip install --pre -U uiautomator2
设备安装atx-agent
首先设备连接到PC,并能够adb devices发现该设备。
# 从github下载atx-agent文件,并推送到手机。在手机上安装包名为`com.github.uiautomator`的apk$ python -m uiautomator2 initsuccess
最后提示success,代表atx-agent初始化成功。
应用及操作调用uiautomator2的过程
配置手机设备参数,设置具体操作的是哪一台手机 抓取手机上应用的控件,制定对应的控件来进行操作 对抓取到的控件进行操作,比如点击、填写参数等。配置手机设备参数
python-uiautomator2连接手机的方式有两种,一种是通过WIFI,另外一种是通过USB。两种方法各有优缺点。WIFI最便利的地方要数可以不用连接数据线,USB则可以用在PC和手机网络不在一个网段用不了的情况。
1,使用WIFI连接
手机获取到手机的IP,并确保电脑可以PING通手机。手机的IP可以在设置-WIFI设置里面获取到。比如手机的IP是192.168.0.100,连接设备的代码为
import uiautomator2 as u2d = u2.connect(’192.168.0.100’)
2.使用USB连接
手机的序列号可以通过adb devices获取到,假设序列号是123456f,连接代码为
import uiautomator2 as u2d = u2.connect_usb(’123456f’)
抓取手机上应用的控件
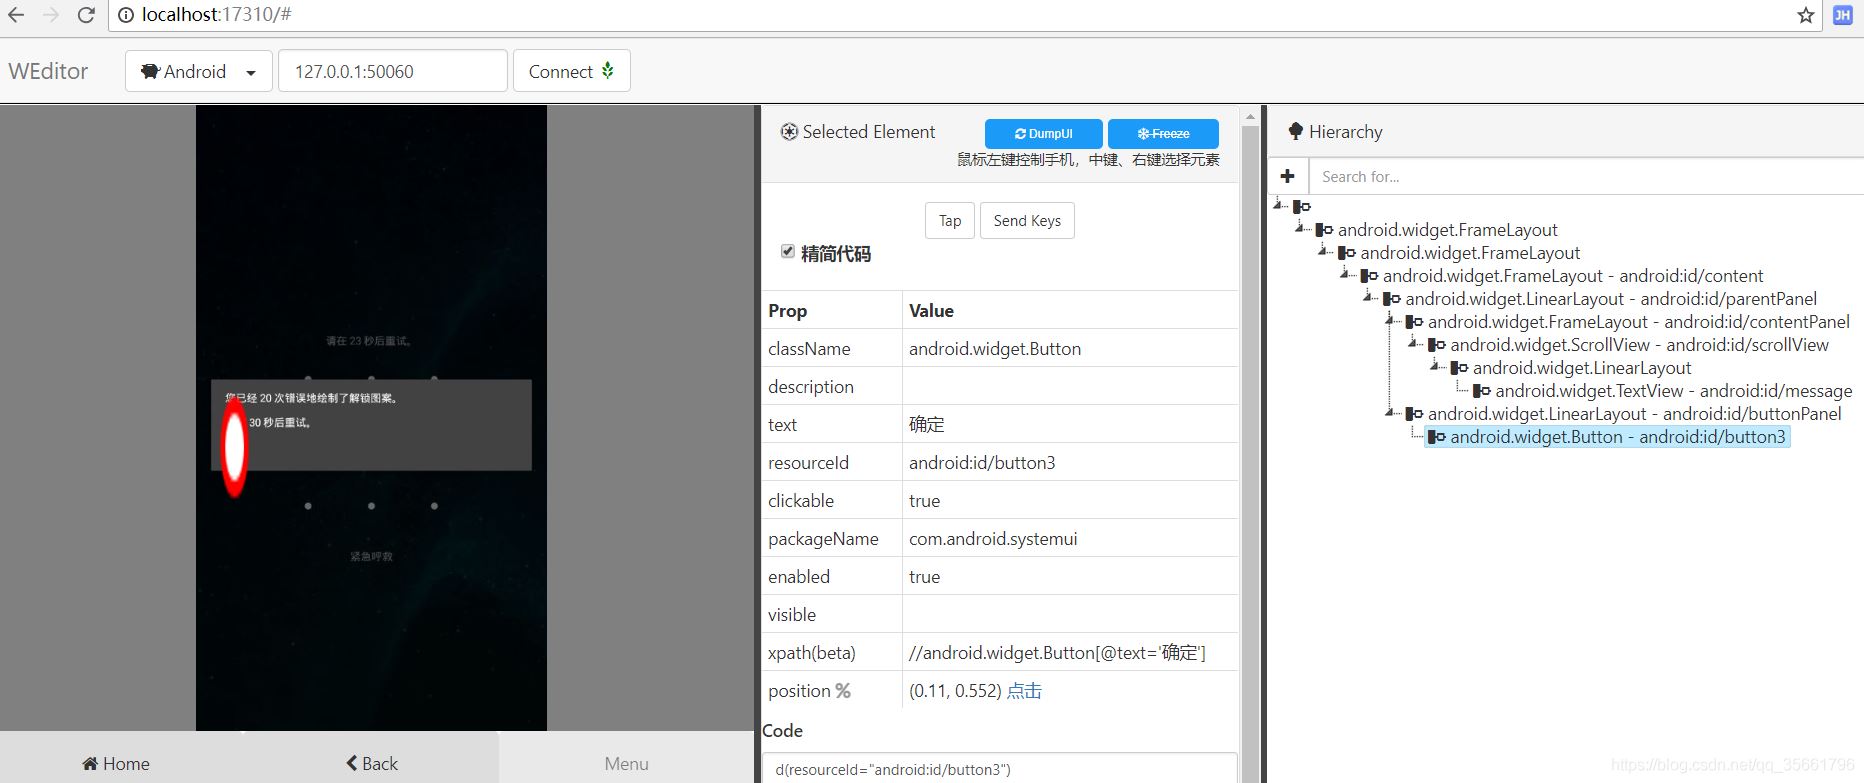
我这里使用的weditor,
1.终端中输入 pip install weditor安装weditor
2.终端中输入python -m weditor启动weditor
下图为网页的截图

然后再选取元素定位就可以完成本次需求
代码如下:
#_*_ coding:utf-8_*_import uiautomator2 as u2import reimport time STOP_COUNT=150d = u2.connect() #输入滑动解锁码def do_password(count): #通过weditor获取到的图案位置 d.swipe_points([(0.304, 0.431), (0.507, 0.435), (0.5, 0.636)], 0.1) #检验是否输入正确def do_check(): #检查输入密码是否达到现在 if d(resourceId='android:id/message').exists:message = d(resourceId='android:id/message').get_text()#取得输密码的次数times = re.findall(’d+’, message)[0]#需要等待的时间timeout = re.findall(’d+’, message)[1]print('暂时不能输入密码,这是第$s次输入,需要等待%s才可以再次输入' % (times, timeout))return True, times, timeout else:print('可以输入')return False, 0, 0 count = 0 while True: ret, times, timeout = do_check() if ret:d.screenshot(times + 'times_' + timeout + 's.jpg')if int(times) >= STOP_COUNT: breaktime.sleep(int(timeout))d(resourceId='android:id/button3').click() count = count + 1 do_password(count)
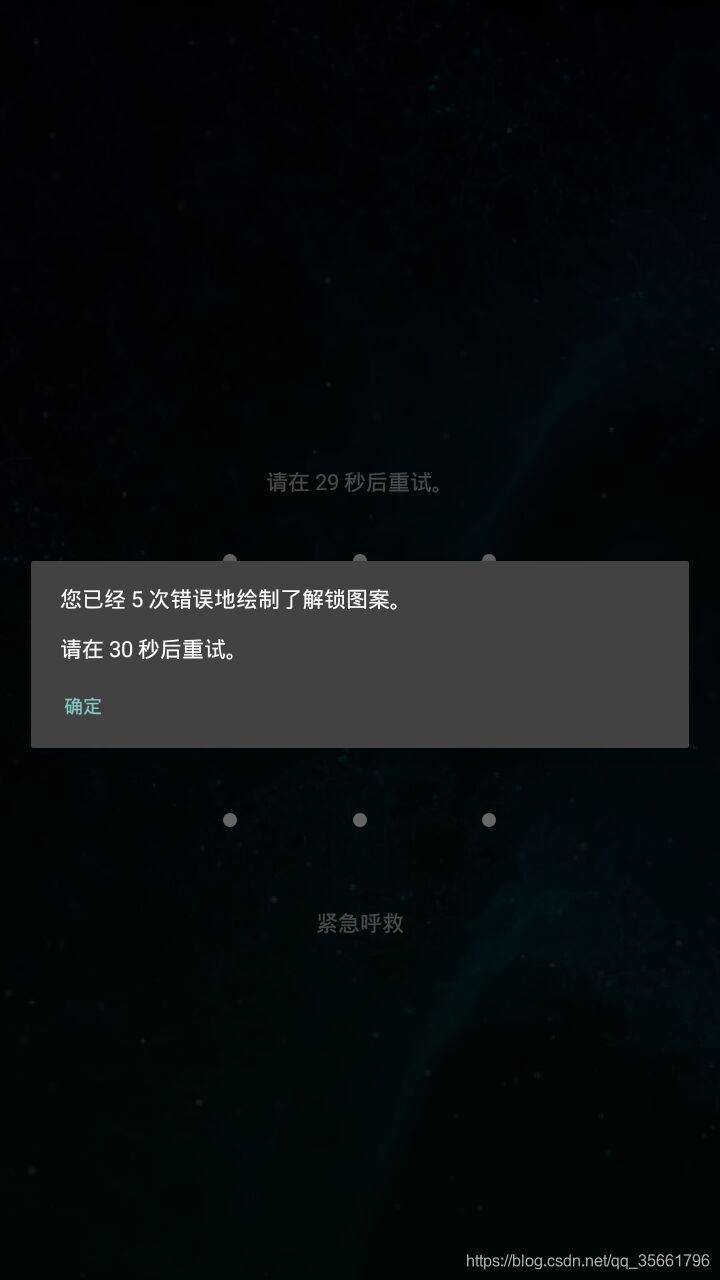
效果图:

到此这篇关于Python+uiautomator2实现手机锁屏解锁功能的文章就介绍到这了,更多相关python uiautomator2手机锁屏解锁内容请搜索好吧啦网以前的文章或继续浏览下面的相关文章希望大家以后多多支持好吧啦网!
相关文章:

 网公网安备
网公网安备