SpringBoot实现发送邮件功能过程图解
首先创建一个邮箱账号,建议@126.com,@163.com,@qq.com 都可以
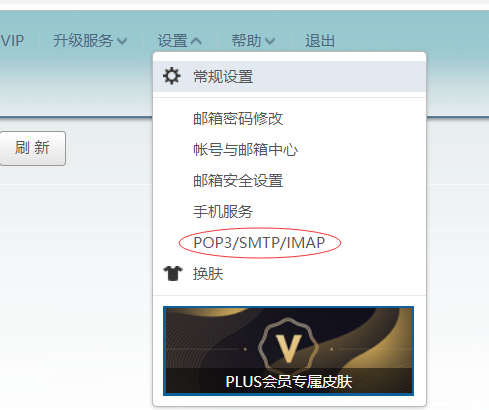
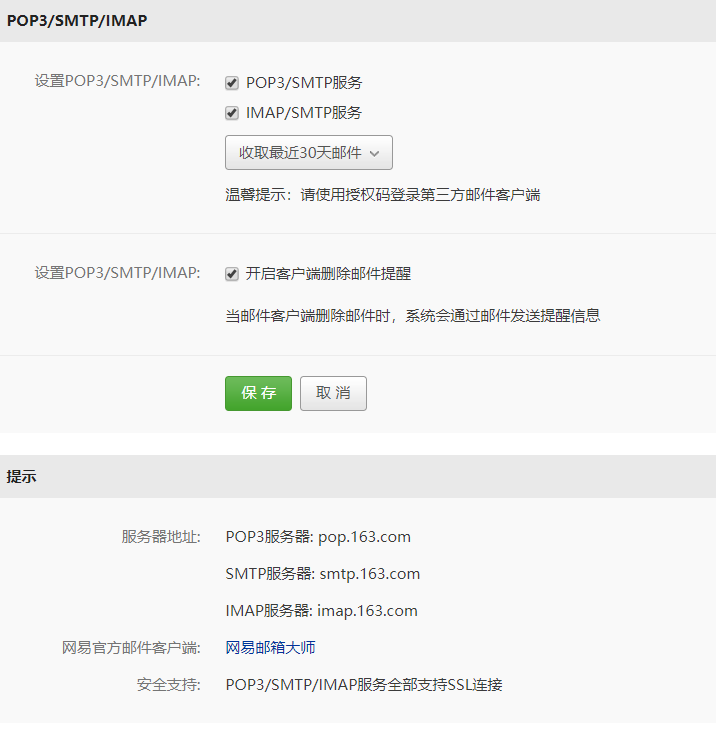
开启smtp,以下是使用图解:
创建SpringBoot项目导入依赖
<dependency> <groupId>org.springframework.boot</groupId> <artifactId>spring-boot-starter-web</artifactId> </dependency> <!-- 支持发送邮件 --> <dependency> <groupId>org.springframework.boot</groupId> <artifactId>spring-boot-starter-mail</artifactId> </dependency>
application.properties文件中配置:
spring.mail.default-encoding=UTF-8spring.mail.host=smtp.163.com#发送者的邮箱密码spring.mail.password=xxxxx#端口spring.mail.port=25#协议spring.mail.protocol=smtp#发送者的邮箱账号spring.mail.username=xxxxxxx@163.comserver.port=8081
以文本的形式发送:
package com.example.demo; import org.springframework.beans.factory.annotation.Autowired;import org.springframework.beans.factory.annotation.Value;import org.springframework.mail.SimpleMailMessage;import org.springframework.mail.javamail.JavaMailSender;import org.springframework.web.bind.annotation.GetMapping;import org.springframework.web.bind.annotation.RestController; /** * @author * @site * @company * @create 2020-03-07 1:06 */@RestControllerpublic class MailController { @Autowired JavaMailSender jsm; @Value('${spring.mail.username}') private String username; @GetMapping('/send') public String send(){ //建立邮箱消息 SimpleMailMessage message = new SimpleMailMessage(); //发送者 message.setFrom(username); //接收者 message.setTo('1352192872@qq.com'); //发送标题 message.setSubject('测试'); //发送内容 message.setText('测试数据'); jsm.send(message); return '1'; }}
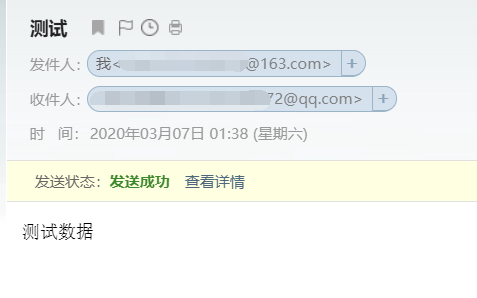
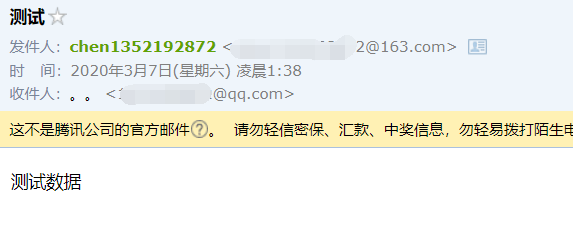
结果:
发送方:
接收方:
以上就是本文的全部内容,希望对大家的学习有所帮助,也希望大家多多支持好吧啦网。
相关文章:
 网公网安备
网公网安备