Spring boot整合连接池实现过程图解
整合连接池HiKariCP
HiKariCP号称是目前世界上最快的连接池,有江湖一哥的称号,目前在springboot工程默认推荐使用HiKariCP连接池,现在我们创建一个新的项目,
项目名为CGB-SBOOT-02,在此工程中整合HiKariCP,其步骤如下:
第一步:添加依赖。
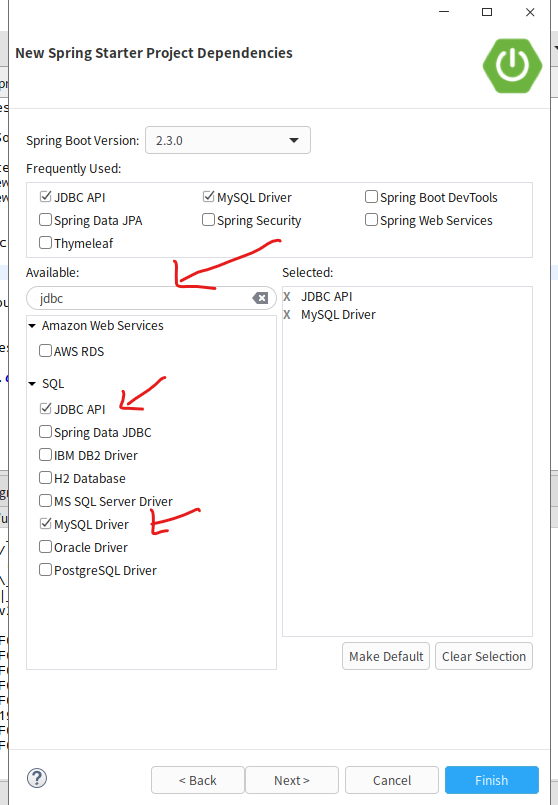
1>创建项目时添加
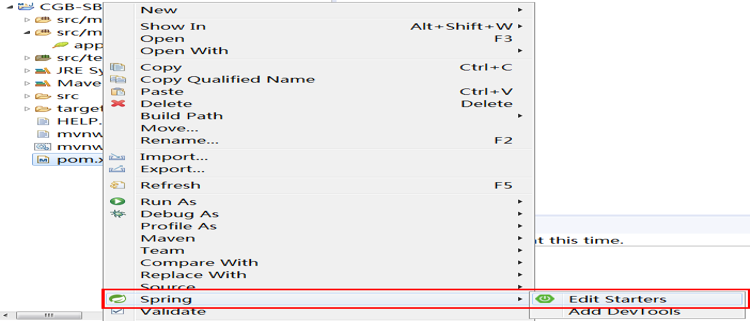
2> 编辑项目中pom.xml,右键项目的pom.xml文件,选择spring
查找mysql 驱动依赖,JDBC API依赖
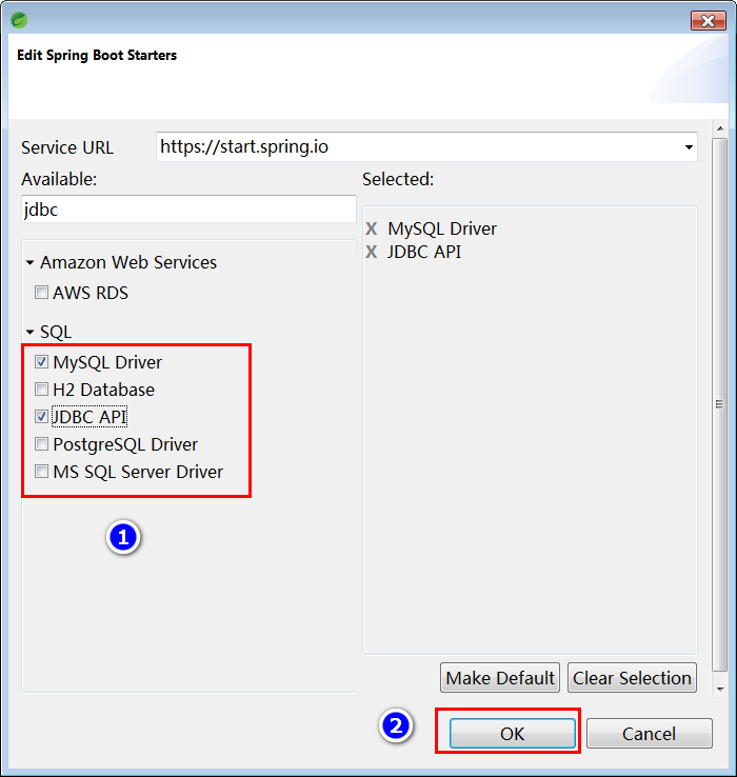
依赖添加以后,在pom.xml文件中会自动添加如下两个依赖配置:mysql数据库驱动依赖。
<dependency> <groupId>mysql</groupId> <artifactId>mysql-connector-java</artifactId> <scope>runtime</scope></dependency>
spring对象jdbc支持(此时会默认帮我们下载HiKariCP连接池)。
<dependency><groupId>org.springframework.boot</groupId><artifactId>spring-boot-starter-jdbc</artifactId></dependency>
第二步:配置连接池
打开application.properties配置文件,添加如下内容。
spring.datasource.url=jdbc:mysql:///dbgoods?serverTimezone=GMT%2B8spring.datasource.username=rootspring.datasource.password=root
第三步:单元测试(测试包中编写)
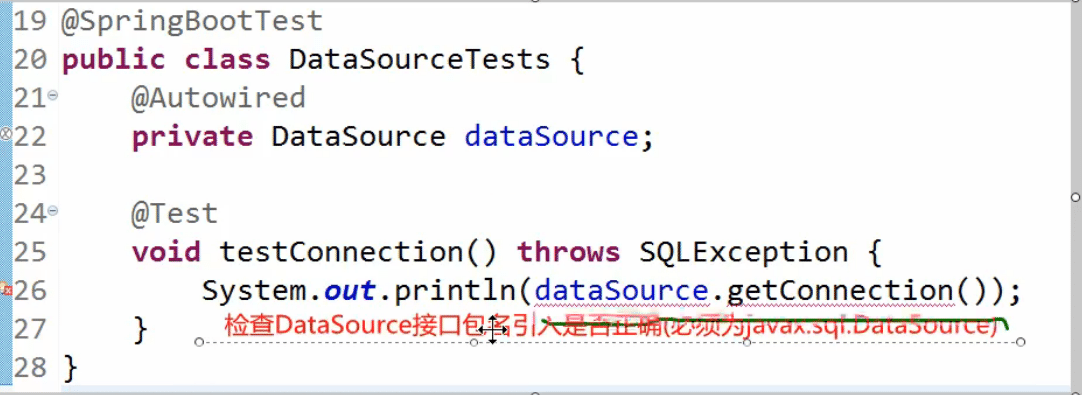
@SpringBootTestpublic class DataSourceTests { @Autowired private DataSource dataSource; @Test public void testConnection() throws Exception{System.out.println(dataSource.getConnection()); }}
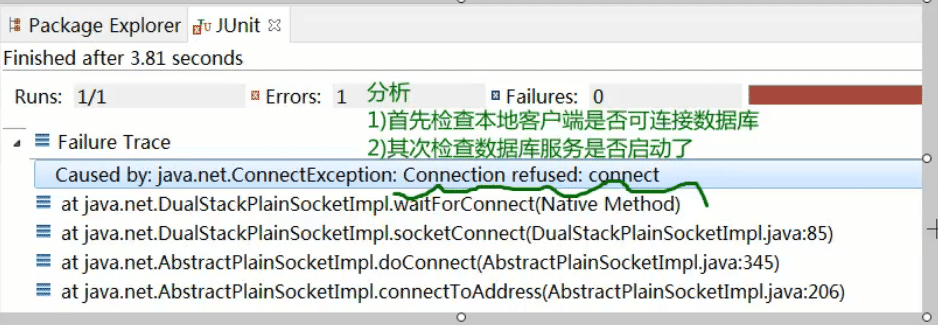
错误解决:




以上就是本文的全部内容,希望对大家的学习有所帮助,也希望大家多多支持好吧啦网。
相关文章:

 网公网安备
网公网安备