python opencv通过按键采集图片源码
写了个python opencv的小demo,可以通过键盘按下字母s进行采集图像。
功能说明“N” 新建文件夹 data/ 用来存储图像“S” 开始采集图像,将采集到的图像放到 data/ 路径下“Q” 退出窗口
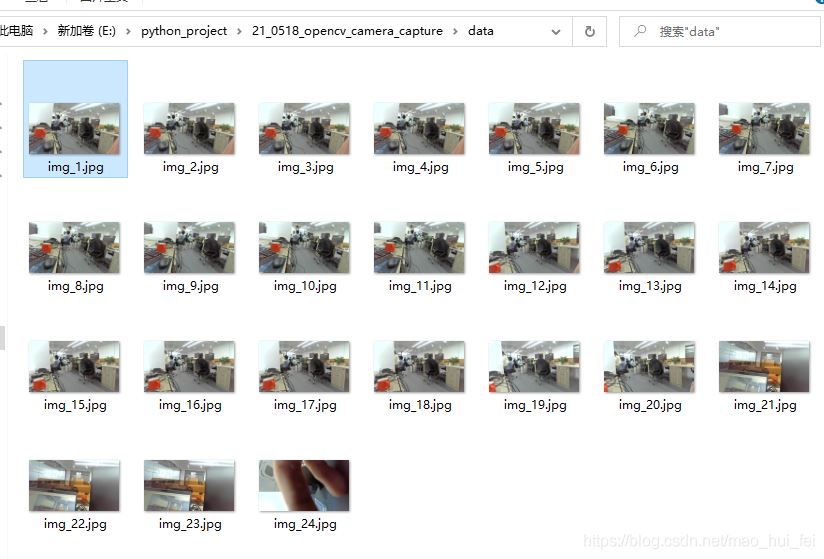
python opencv源码’’’“N” 新建文件夹 data/ 用来存储图像'S' 开始采集图像,将采集到的图像放到 data/ 路径下“Q” 退出窗口’’’import numpy as np # 数据处理的库 Numpyimport cv2 # 图像处理的库 OpenCvimport os # 读写文件import shutil # 读写文件from PIL import Image, ImageDraw, ImageFont# # OpenCv 调用摄像头 / Use cameracap = cv2.VideoCapture(0)cap.set(cv2.CAP_PROP_FRAME_WIDTH,1920)cap.set(cv2.CAP_PROP_FRAME_HEIGHT,1080)’’’#功能函数,只是用来往图片中显示汉字#示例 img = cv2ImgAddText(cv2.imread(’img1.jpg’), '大家好,我是片天边的云彩', 10, 65, (0, 0, 139), 20)参数说明:img:OpenCV图片格式的图片text:要写入的汉字left:字符坐标x值top:字符坐标y值textColor:字体颜色:textSize:字体大小’’’def cv2ImgAddText(img, text, left, top, textColor=(0, 255, 0), textSize=20): if (isinstance(img, np.ndarray)): # 判断是否OpenCV图片类型img = Image.fromarray(cv2.cvtColor(img, cv2.COLOR_BGR2RGB)) # 创建一个可以在给定图像上绘图的对象 draw = ImageDraw.Draw(img) # 字体的格式 fontStyle = ImageFont.truetype('font/simsun.ttc', textSize, encoding='utf-8') # 绘制文本 draw.text((left, top), text, textColor, font=fontStyle) # 转换回OpenCV格式 return cv2.cvtColor(np.asarray(img), cv2.COLOR_RGB2BGR)# 存储图像的文件夹 current_dir = ''# 保存 图像 的路径 path_photos_from_camera = 'data/'press_n_flag = 0cnt_ss=0while cap.isOpened(): flag, img_rd = cap.read() #print(img_rd.shape) kk = cv2.waitKey(2) # 待会要写的字体 / Font to write font = cv2.FONT_ITALIC # 4. 按下 ’n’ 新建存储人脸的文件夹 / press ’n’ to create the folders for saving faces if kk == ord(’N’) or kk == ord(’n’):current_dir = path_photos_from_camera#os.makedirs(current_dir)if os.path.isdir(current_dir): passelse: os.mkdir(current_dir)print(’n’)print('新建的保存图像的文件夹 / Create folders: ', current_dir)press_n_flag = 1# 已经按下 ’n’ / have pressed ’n’ # 5. 按下 ’s’ 保存摄像头中的图像到本地 / Press ’s’ to save image into local images if kk == ord(’S’) or kk == ord(’s’):# 检查有没有先按’n’新建文件夹 / check if you have pressed ’n’if press_n_flag: cnt_ss += 1 cv2.imwrite(current_dir + '/img_' + str(cnt_ss) + '.jpg', img_rd) print('写入本地 / Save into:', str(current_dir) + '/img_face_' + str(cnt_ss) + '.jpg')else: print('请在按 ’S’ 之前先按 ’N’ 来建文件夹 / Please press ’N’ before ’S’') # 添加说明 / Add some statements #cv2.putText(img_rd, 'Face Register', (20, 40), font, 1, (0, 255, 0), 1, cv2.LINE_AA) img_rd = cv2ImgAddText(img_rd, '图片采集系统', 160, 25, (0, 255,0), 30) #cv2.putText(img_rd, 'N: Create face folder', (20, 350), font, 0.8, (0, 255, 0), 1, cv2.LINE_AA) img_rd = cv2ImgAddText(img_rd, 'N: 创建保存图像文件夹', 20, 350, (0, 255, 0), 20) #cv2.putText(img_rd, 'S: Save current face', (20, 400), font, 0.8, (0, 255, 0), 1, cv2.LINE_AA) img_rd = cv2ImgAddText(img_rd, 'S: 保存当前图片', 20, 400, (0, 255, 0), 20) #cv2.putText(img_rd, 'Q: Quit', (20, 450), font, 0.8, (0, 0, 0), 1, cv2.LINE_AA) img_rd = cv2ImgAddText(img_rd, 'Q: 退出', 20, 450, (0, 255, 0), 20) # 6. 按下 ’Q’ 键退出 / Press ’q’ to exit if kk == ord(’Q’) or kk == ord(’q’):break # 如果需要摄像头窗口大小可调 / Uncomment this line if you want the camera window is resizeable cv2.namedWindow('camera', 0) cv2.imshow('camera', img_rd)# 释放摄像头 / Release camera and destroy all windowscap.release()cv2.destroyAllWindows()效果图

windows安装
pip install pillow
tx2/linux/…
sudo apt-get install python3-pillow二、c语言版本 c语言源码
/*****************************************************2021.5.18:按键采集图像******************************************************/#include 'opencv2/core/core.hpp' #include 'opencv2/imgproc/imgproc.hpp' #include 'opencv2/calib3d/calib3d.hpp' #include 'opencv2/highgui/highgui.hpp' #include <iostream> #include <fstream> using namespace cv;using namespace std;#define SRC_WIDTH 1920#define SRC_HEIGHT 1080int main(){//测试视频VideoCapture capture;capture.open(1);//capture.open('v4l2src device=/dev/video4 ! video/x-raw,width=1920,height=1020,framerate=30/1 ! videoconvert ! appsink');if (!capture.isOpened()){printf('文件打开失败');}capture.set(CAP_PROP_FRAME_WIDTH, SRC_WIDTH);//设置宽度capture.set(CAP_PROP_FRAME_HEIGHT, SRC_HEIGHT); //设置长度Mat frame;int n = 0;char* cstr = new char[120];while (true){capture >> frame;if (frame.data == NULL){printf('Image is emptyn');//writer.write(frame);break;//continue;}char kk=waitKey(2);if (kk == ’S’ || kk == ’s’){sprintf(cstr, '%s%d%s', 'caliberation/', n++, '.jpg');imwrite(cstr, frame);printf('保存了图片n');}namedWindow('111', 0);//参数为零,则可以自由拖动imshow('111', frame);waitKey(2);}return 0;}
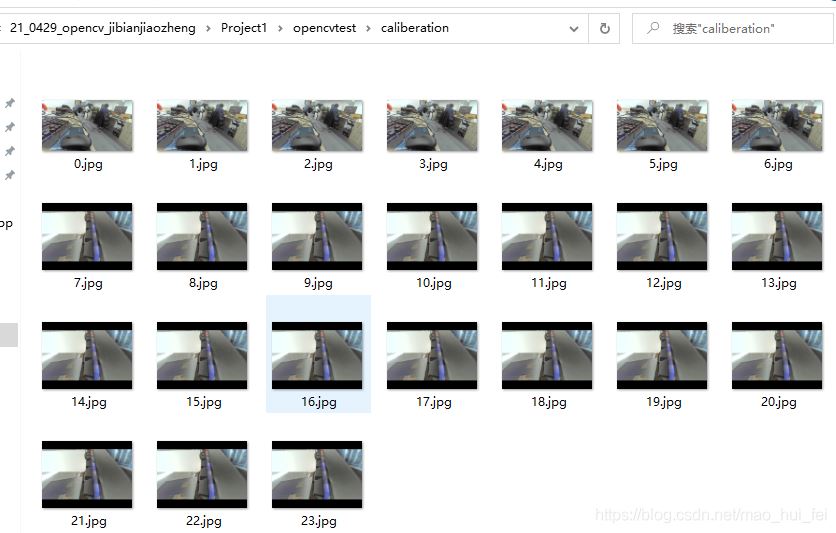
效果图

到此这篇关于opencv通过按键采集图片源码的文章就介绍到这了,更多相关opencv按键采集图片内容请搜索好吧啦网以前的文章或继续浏览下面的相关文章希望大家以后多多支持好吧啦网!
相关文章:

 网公网安备
网公网安备