文章详情页
通过CSS实现逼真水滴动效
浏览:285日期:2022-06-03 11:31:37
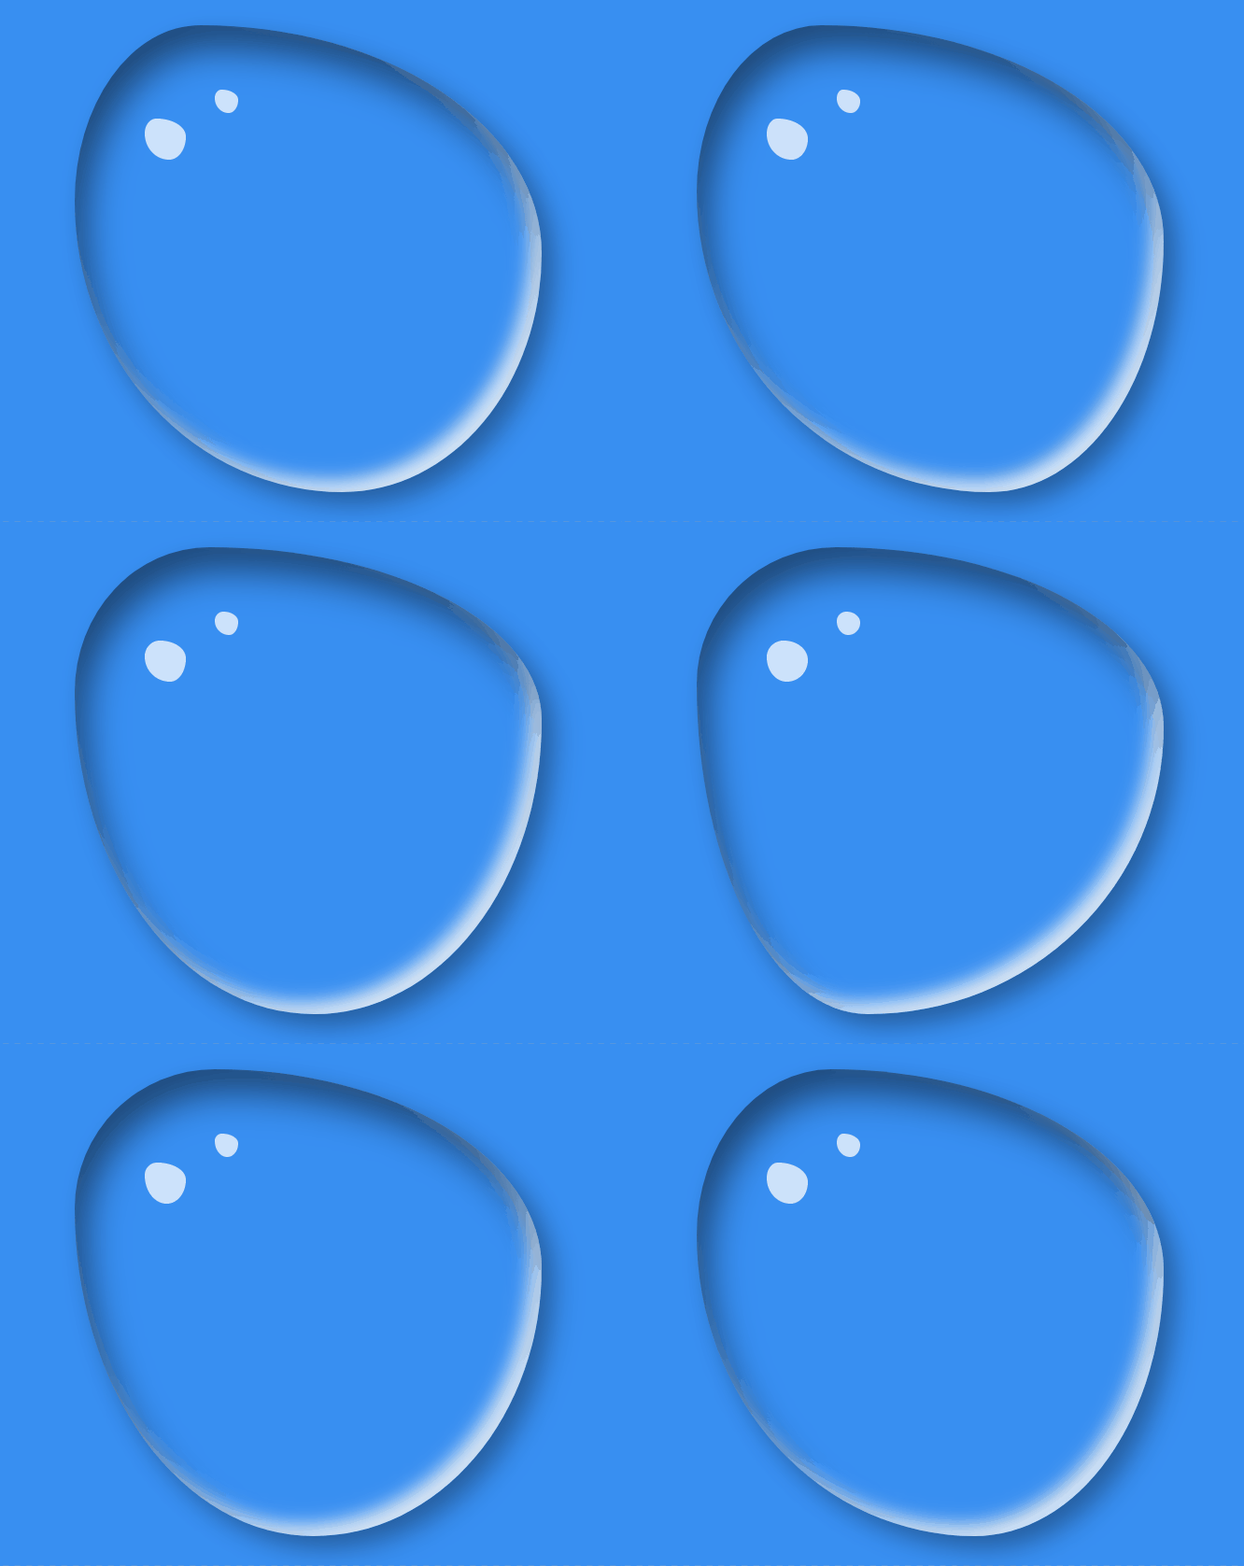
哈喽哈喽!CSS真的好好玩啊,哈哈,反正我是爱了,空闲写着玩。画画不好的我乐了,下面就是一个用CSS3动画完成的模仿水珠的动效,其中主要就是会使用CSS设置阴影效果以及@keyframes关键帧和一些选择器的技术,快来学习吧!!!🐬

实现效果:就很nice
你也通过一下网址进行访问水滴点击进入

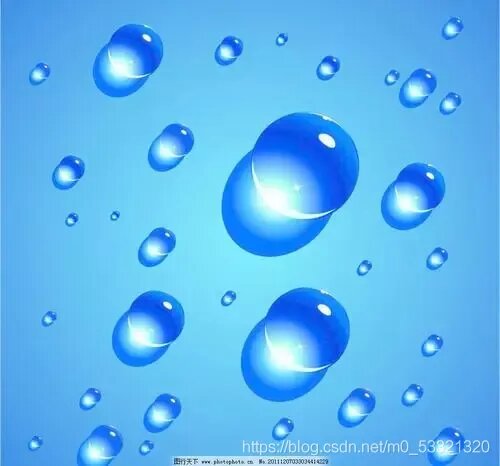
灵感:看到了这张图阴影高亮,这属于美术吧,哈哈,我是小菜鸡

这里强烈安利GitHub上一个大牛的开源:花式边框半径生成器利用这个可以使这个效果实现的事半功倍,好开始coding
1.html
很简单,只需要一个盒子就OK了
<!DOCTYPE html><html lang="en"><head> <meta charset="UTF-8"> <meta http-equiv="X-UA-Compatible" content="IE=edge"> <meta name="viewport" content="width=device-width, initial-scale=1.0"> <title>水滴</title></head><body> <div></div></body></html>
2.CSS
注释已经写在代码中,这里主要学习一下伪元素选择器的使用,box-shadow这个设置阴影的属性,关键帧 @keyframes以及关键帧的使用 animation,和 border-radius: 30% 70% 70% 30% / 30% 35% 65% 70%;这个属性的使用
/*清除body的影响*/*{ margin: 0; padding: 0;}/*设置背景颜色*/body{ background-color: rgba(40, 134, 241, 0.925);}/* 初始一下水,大小,弯曲,阴影*/.shui{ width: 400px; height: 400px; position: absolute; top: 50%; left: 50%; transform: translate(-50%,-50%); /* 测试用的边框 */ /* border: 1px solid; */ box-sizing: border-box; /* 设置弯曲 */ border-radius: 30% 70% 70% 30% / 30% 35% 65% 70%; /* 设置box-shadow :水平方向阴影 垂直方向阴影 模糊距离 阴影尺寸 阴影颜色 内/外阴影(inset/outset(默认)) 盒子阴影可以有多组值,之间用逗号隔开 水平阴影和垂直阴影必须写,其余4个是可选的*/ box-shadow: inset 10px 20px 30px rgba(0, 0, 0, 0.5), 10px 10px 20px rgba(0, 0, 0, 0.3), 15px 15px 30px rgba(0, 0, 0, 0.05), inset -10px -10px 15px rgba(255, 255, 254, 0.83); /*使用关键帧 watermove 9s播放 匀速 无限循环*/ animation: watermove 9s linear infinite;}/* 伪元素选择器:在^之后插入 */.shui::after{ content: ""; position: absolute; width: 35px; height: 35px; background: rgba(255, 255, 255, 0.82); border-radius: 50%; left: 60px; top: 80px; /*使用关键帧 watermove 4s播放 匀速 无限循环*/ animation: watermove 4s linear infinite;}/* 伪元素选择器:在当前盒子最前插入一个东西 */.shui::before{ content: ""; position: absolute; width: 20px; height: 20px; background: rgba(255, 255, 255, 0.82); border-radius: 50%; left: 120px; top: 55px; /*使用关键帧 watermove 4s播放 匀速 无限循环*/ animation: watermove 4s linear infinite;}/* 关键帧 */@keyframes watermove{ 20%{border-radius: 30% 70% 53% 47% / 28% 44% 56% 72%; } 40%{border-radius: 30% 70% 39% 61% / 34% 39% 61% 66%; } 60%{border-radius: 25% 75% 45% 55% / 40% 55% 45% 60%; } 80%{border-radius: 28% 72% 31% 69% / 32% 39% 61% 68%; }}3.完整代码
<!DOCTYPE html><html lang="en"><head> <meta charset="UTF-8"> <meta http-equiv="X-UA-Compatible" content="IE=edge"> <meta name="viewport" content="width=device-width, initial-scale=1.0"> <title>水滴</title> <style>/*清除body的影响*/*{ margin: 0; padding: 0;}/*设置背景颜色*/body{ background-color: rgba(40, 134, 241, 0.925);}/* 初始一下水,大小,弯曲,阴影*/.shui{ width: 400px; height: 400px; position: absolute; top: 50%; left: 50%; transform: translate(-50%,-50%); /* 测试用的边框 */ /* border: 1px solid; */ box-sizing: border-box; /* 设置弯曲 */ border-radius: 30% 70% 70% 30% / 30% 35% 65% 70%; /* 设置box-shadow :水平方向阴影 垂直方向阴影 模糊距离 阴影尺寸 阴影颜色 内/外阴影(inset/outset(默认)) 盒子阴影可以有多组值,之间用逗号隔开 水平阴影和垂直阴影必须写,其余4个是可选的*/ box-shadow: inset 10px 20px 30px rgba(0, 0, 0, 0.5), 10px 10px 20px rgba(0, 0, 0, 0.3), 15px 15px 30px rgba(0, 0, 0, 0.05), inset -10px -10px 15px rgba(255, 255, 254, 0.83); /*使用关键帧 watermove 9s播放 匀速 无限循环*/ animation: watermove 9s linear infinite;}/* 伪元素选择器:在^之后插入 */.shui::after{ content: ""; position: absolute; width: 35px; height: 35px; background: rgba(255, 255, 255, 0.82); border-radius: 50%; left: 60px; top: 80px; /*使用关键帧 watermove 4s播放 匀速 无限循环*/ animation: watermove 4s linear infinite;}/* 伪元素选择器:在当前盒子最前插入一个东西 */.shui::before{ content: ""; position: absolute; width: 20px; height: 20px; background: rgba(255, 255, 255, 0.82); border-radius: 50%; left: 120px; top: 55px; /*使用关键帧 watermove 4s播放 匀速 无限循环*/ animation: watermove 4s linear infinite;}/* 关键帧 */@keyframes watermove{ 20%{border-radius: 30% 70% 53% 47% / 28% 44% 56% 72%; } 40%{border-radius: 30% 70% 39% 61% / 34% 39% 61% 66%; } 60%{border-radius: 25% 75% 45% 55% / 40% 55% 45% 60%; } 80%{border-radius: 28% 72% 31% 69% / 32% 39% 61% 68%; }} </style></head><body> <div></div></body></html>OK,简简单单,快快乐乐,欢迎交流探讨,白白了你
到此这篇关于通过CSS实现逼真水滴动效的文章就介绍到这了,更多相关CSS实现水滴效果内容请搜索以前的文章或继续浏览下面的相关文章希望大家以后多多支持!
排行榜

 网公网安备
网公网安备