Django mysqlclient安装和使用详解
一、安装mysqlclient
网上看到很过通过命令:pip install mysqlclient 进行安装的教程,但是我却始终安装失败,遇到的错误千奇百怪,后来通过自己下载mysqlclient客户端终于安装成功;
首先打开网址:https://www.lfd.uci.edu/~gohlke/pythonlibs/并找到下面图中的内容部分:
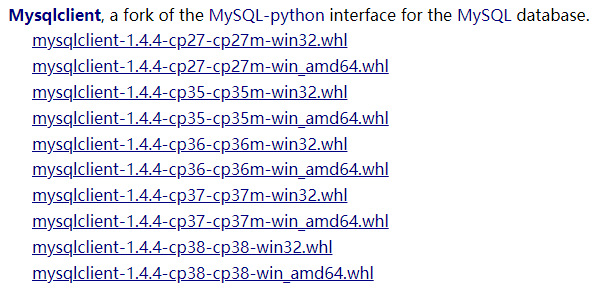
根据自己的需要,我选择的是最下边的cp38(目测cp38应该是C++版本,下载下来的文件通过pip install 进行安装的时候会进行c++编译,如果你的电脑(我是Windows)上没有安装VC++,那么找个新版本的安装一下即可:https://support.microsoft.com/zh-cn/help/2977003/the-latest-supported-visual-c-downloads)记住如果没有C++,就先安装C++这个;
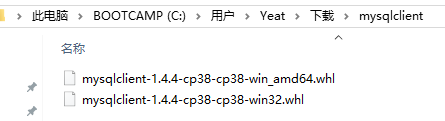
下载好mysqlclientt之后如下(只要下载1个,我系统是64位,所以先下载的64位的,结果用不了,所以又下载了32位的才成功,所以建议先下载32位的试试):
打开控制台(开始->运行->cmd):
第一步:cd 到下载的mysqlclient文件所在的目录:cdC:UsersYeatDownloadsmysqlclient
第二步:执行安装命令:pip installmysqlclient-1.4.4-cp38-cp38-win32.whl
如果成功的话会看到:
C:UsersYeatDownloads>pip install mysqlclient-1.4.4-cp38-cp38-win32.whlProcessing c:usersyeatdownloadsmysqlclient-1.4.4-cp38-cp38-win32.whlInstalling collected packages: mysqlclientSuccessfully installed mysqlclient-1.4.4
C:UsersYeatDownloads>当然如果失败的话,那很可能看到类似下图的画面:
C:UsersYeat>pip install mysqlclient‑1.3.13‑cp36‑cp36m‑win_amd64.whlWARNING: Requirement ’mysqlclient‑1.3.13‑cp36‑cp36m‑win_amd64.whl’ looks like a filename, but the file does not existERROR: mysqlclient‑1.3.13‑cp36‑cp36m‑win_amd64.whl is not a valid wheel filename.
C:UsersYeat>pip install MySQL_python‑1.2.5‑cp27‑none‑win_amd64.whlWARNING: Requirement ’MySQL_python‑1.2.5‑cp27‑none‑win_amd64.whl’ looks like a filename, but the file does not existERROR: MySQL_python‑1.2.5‑cp27‑none‑win_amd64.whl is not a valid wheel filename.
C:UsersYeat>pip install MySQL_python‑1.2.5‑cp27‑none‑win_amd64ERROR: Invalid requirement: ’MySQL_python‑1.2.5‑cp27‑none‑win_amd64’
C:UsersYeat>cd C:UsersYeatDownloads
C:UsersYeatDownloads>pip install MySQL_python-1.2.5-cp27-none-win_amd64.whlERROR: MySQL_python-1.2.5-cp27-none-win_amd64.whl is not a supported wheel on this platform.
C:UsersYeatDownloads>pip install mysqlclient-1.4.4-cp38-cp38-win_amd64.whlERROR: mysqlclient-1.4.4-cp38-cp38-win_amd64.whl is not a supported wheel on this platform.
失败,那就换下载的mysqlclient版本,只能提供这个办法了!!!!
二、在Django框架里使用mysql
1.进入项目工程目录执行命令:django-admin startapp TcesApp,我的完整命令是:C:UsersYeatPycharmProjectsuntitled>django-admin startapp TcesApp,前面的部分是我的工程目录路径;
2.命令执行完毕后工程里会增加TcesApp目录如图:

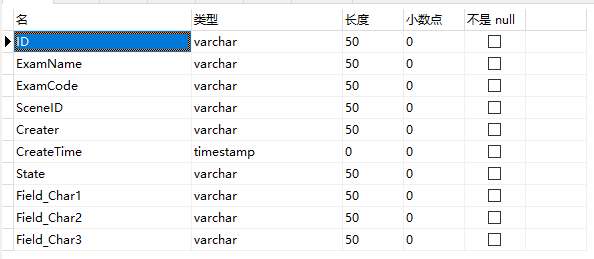
3.进入models.py中创建与你的数据库表相对应的对象model,我的内容如下:
from django.db import modelsclass e_exams(models.Model): ID = models.CharField(max_length=50), ExamName = models.CharField(max_length=50) ExamCode = models.CharField(max_length=50) SceneID = models.CharField(max_length=50) Creater = models.CharField(max_length=50) CreateTime = models.DateTimeField() State = models.CharField(max_length=50) Field_Char1 = models.CharField(max_length=50) Field_Char2 = models.CharField(max_length=50) Field_Char3 = models.CharField(max_length=50) class Meta: db_table = ’e_exams’ #数据表名称
我的表结构 e_exams:
在models.py中可以创建过个表的model。
4.在admin.py中注册model:
from django.contrib import adminfrom . import models# Register your models here.admin.site.register(models.e_exams)
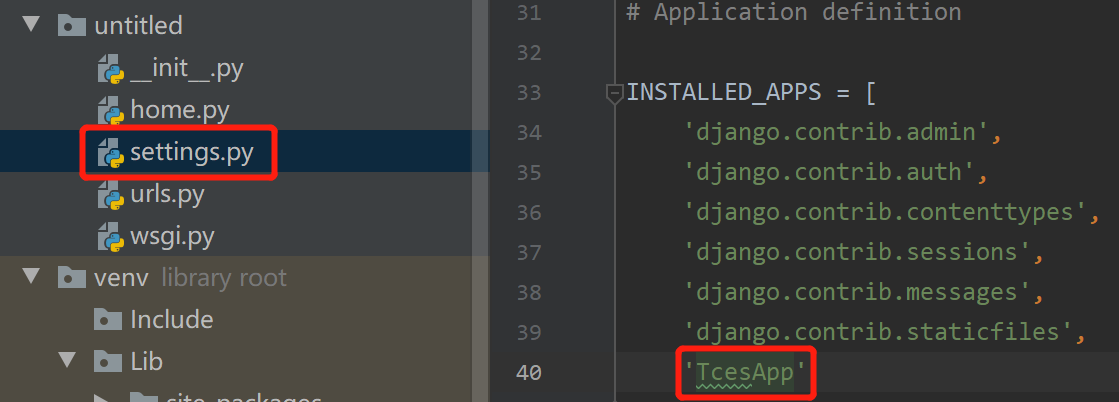
5.在setting.py中添加app名称(上边的名称 django-admin startapp TcesApp 的名称):
6.还是在settings.py中修改DATABASES内容如下:
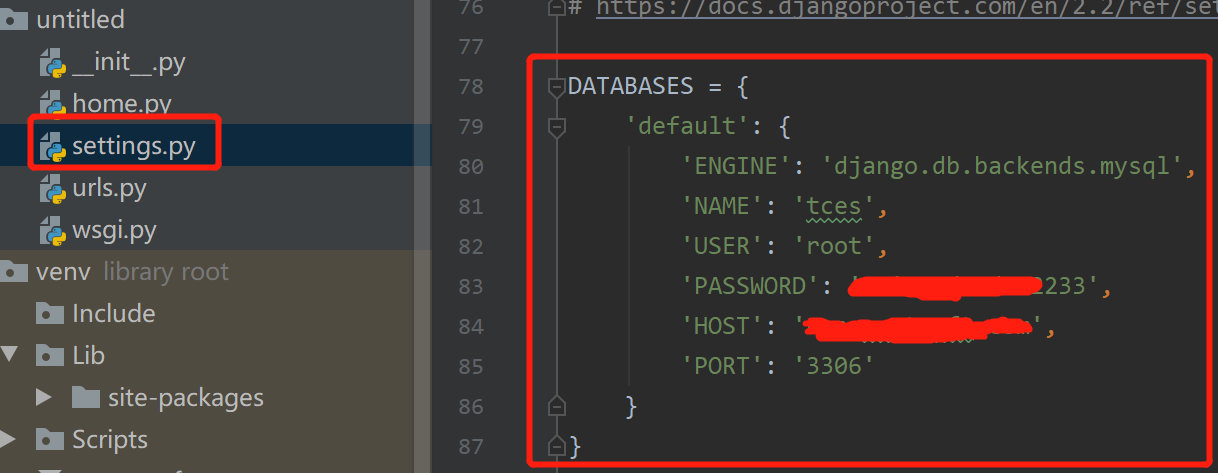
完整配置:
DATABASES = { ’default’: { ’ENGINE’: ’django.db.backends.mysql’, ’NAME’: ’tces’, ’USER’: ’root’, ’PASSWORD’: ’Unity3du#d112233’, ’HOST’: ’nas.yeatsoft.com’, ’PORT’: ’3306’, ’OPTIONS’: { 'init_command': 'SET sql_mode=’STRICT_TRANS_TABLES’', } }}
其中NAME是你的数据库名称,HOST是数据库地址,其它的大家都知道。
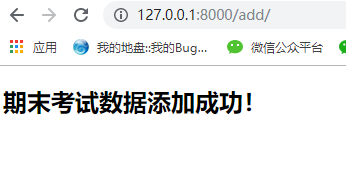
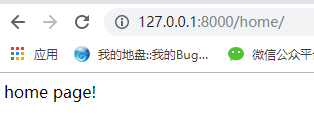
7.接下来我们到views.py(或者自己创建的py文件)中编写代码主要看 addExam 这个方法:
from django.http import HttpResponsefrom django.shortcuts import renderfrom TcesApp.models import e_examsdef hello(request): return HttpResponse(’home page!’)def helloworld(request): context = {} context[’value’] = ’hello world!’ return render(request, ’helloworld.html’, context)def addExam(request): exam = e_exams() exam.ID = ’100001’ exam.SceneID = ’1001’, exam.ExamName = ’期末考试’ exam.save() context = {} context[’value’] = exam.ExamName + ’数据添加成功!’ return render(request,’helloworld.html’,context)
其中helloworld.html是放在templates中的前端页面:
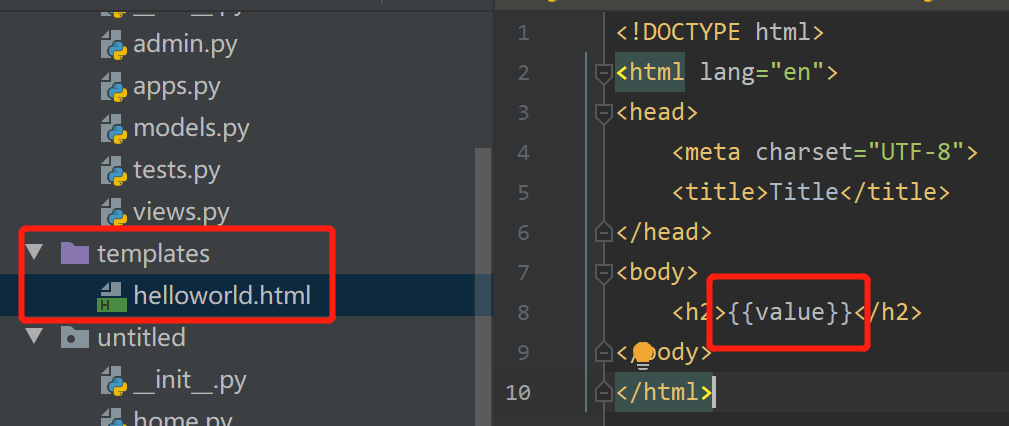
context[’value’]就是html页面中的{{value}}
8.到urls.py中添加路径完整代码如下:
from django.contrib import adminfrom django.urls import pathfrom . import homeurlpatterns = [ path(’admin/’, admin.site.urls), path(’home/’, home.hello), path(’helloworld/’, home.helloworld), path(’add/’,home.addExam)]
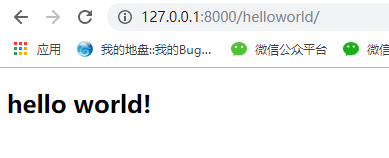
三、运行效果如下:
到此这篇关于Django mysqlclient安装和使用详解的文章就介绍到这了,更多相关Django mysqlclient安装使用内容请搜索好吧啦网以前的文章或继续浏览下面的相关文章希望大家以后多多支持好吧啦网!
相关文章:

 网公网安备
网公网安备