文章详情页
win7创建无线临时网络的操作方法
浏览:27日期:2023-03-02 11:27:03
相信很多用户在win7系统下,创建宽带拨号上网时,在向导界面看到一个名为“设置无线临时网络”的菜单选项,目前win7系统用户基本上有很少的人知道该功能的具体作用,其实win7设置无线临时网络可帮助用户便捷的实现双机互联,从而达到创建临时局域网的目的,不过很多用户不知道具体如何创建,故此小编为大家提供了详细的操作方法,下面我们一起了解下吧!
操作方法
1.我们需要点击开始菜单--打开控制面板

2.点击打开'网络和共享中心'

3.进入网络共享中心后,点击'设置新的连接或网络'

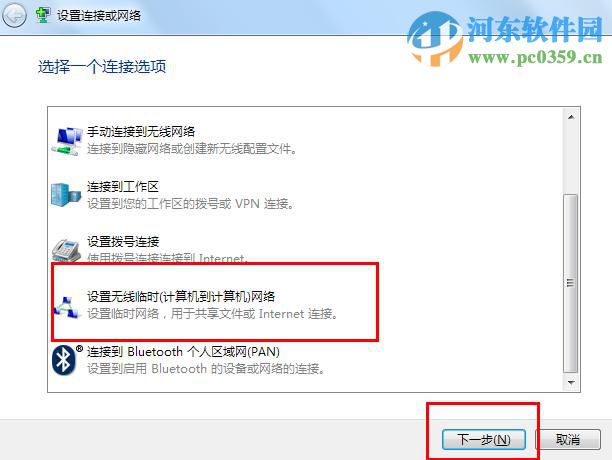
4.拉动滚动条,找到'设置无线临时(计算机到计算机)网络'选中并点击下一步
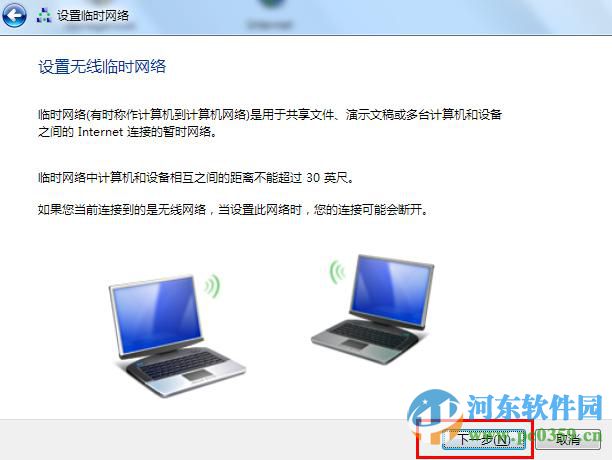
5.点击'下一步'
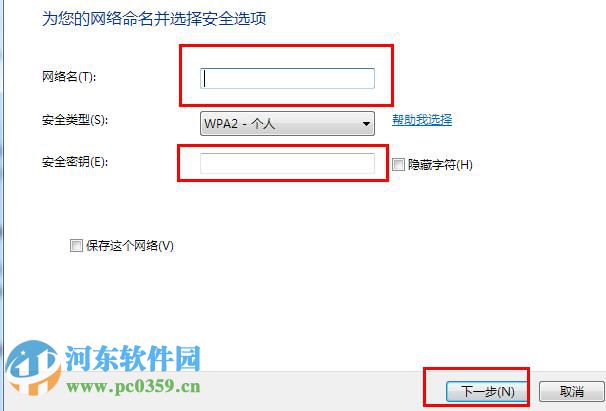
6.输入您的网络名称以及密钥,也可在安全类型中选为不加密(但并不安全,任何人均可连接)
7.设置完成后您将在无线网络连接中看到此无线信号,使用其他笔记本连接此无线信号即可

通过上述方法,用户即可在win7系统下创建临时网络,从而使多个带有无线网卡的计算机,通过无线连接到所创建的网络,最终实现建立局域网环境的目的!
相关文章:
排行榜
 网公网安备
网公网安备