文章详情页
win10系统更新NVIDIA英伟达显卡驱动具体方法
浏览:87日期:2023-04-06 08:57:06
win10系统更新NVIDIA英伟达显卡驱动具体方法。有些windows10系统用户反馈自己的电脑总会出现黑屏、卡屏和闪屏的问题,检查了一下需要使用英伟达的显卡驱动才能解决。因为有些功能在新版驱动才能使用,可是没有第三方软件,显卡驱动不会提醒更新,那我们应该怎么去更新才好呢?好吧啦网小编就介绍下windows10系统更新NVIDIA英伟达显卡驱动的具体方法。
具体方法如下:
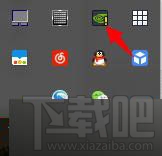
1、在win10系统里,点击右下角的向上箭头,看到缩略图,英伟达的logo下方有个“!”,提示驱动有更新;
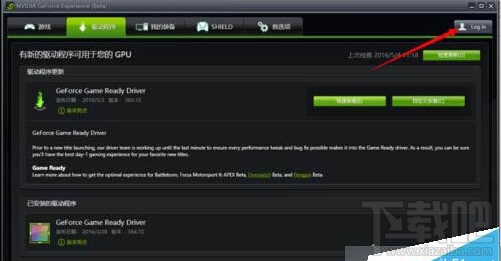
2、等待片刻,检查更新,然后点击“快速安装”;

3、如果有账号就直接点击右上角的“log in”登录;小编没有账号,点击快速安装后,出现图二,输入邮箱和出生日期,点击“submit”提交即可;

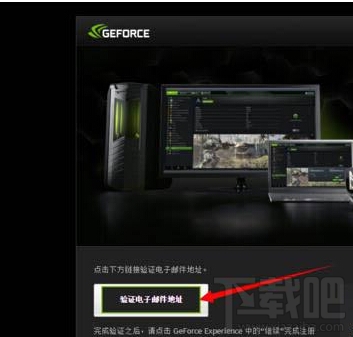
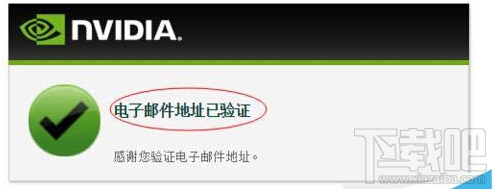
4、然后会出现,提示要去邮箱验证,小编用的是QQ邮箱,找到邮件,点击“验证邮箱”,直到出现成功;
5、验证成功后,回到驱动程序页面,点击弹出框的右下角按钮(小编忘记截图啦,怪我咯),然后会进行下载和安装,耐心稍等片刻;

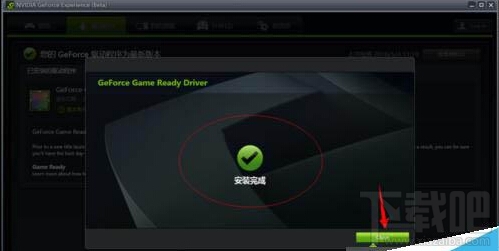
6、当出现下面的图像,恭喜您成功更新了驱动程序。
以上就是小编为大家介绍的windows10系统更新NVIDIA英伟达显卡驱动的方法了。希望可以帮助到大家。
相关文章:
1. Win11/Win10 上提供“试用”按钮 微软计划用“OneOutlook”替代原生“Mail”应用2. Win10系统360浏览器搜索引擎被劫持解决方法 3. 戴尔成就5471笔记本怎么安装win10系统 安装win10系统步骤分享4. Win10激活显示许可证激活(slui.exe)失败错误代码hr=0xC004F074怎么办?5. 怎么安装双系统?win10稳定版和win11双系统安装图文教程6. 如何安装win10和win11双系统?win10和win11双系统安装详细教程7. Win10修改msconfig后无法开机怎么办?修改msconfig后无法开机解决方法8. win10安装ubuntu速度慢应对步骤分享9. Win10任务栏没有开始菜单怎么办?Win10任务栏没有开始菜单的解决方法10. 如何从Windows 10升级到Windows 11?Win10升级到Win11的正确图文步骤
排行榜
 网公网安备
网公网安备