文章详情页
使用wps绘制出立体流程图具体操作方法
浏览:82日期:2022-12-27 10:26:33
一些用户们想要使用wps制作出立体流程图,你们了解绘制的方法吗?此篇教程内容就分享了使用wps绘制出立体流程图的具体操作方法。

1、首先,要新建1个文档,然后要登陆WPS文字软件,因为要使用的工具必须登录后才能使用,当然这些东西是免费的。

2、在主菜单里面点击“插入”,然后点击“形状”。
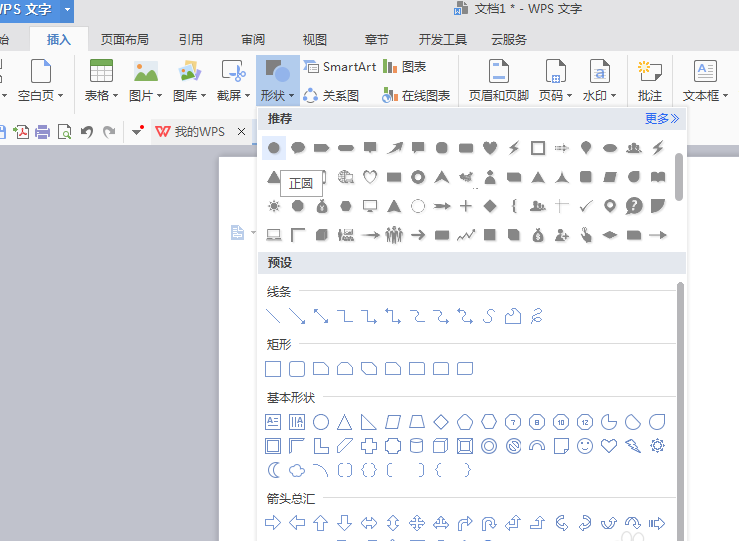
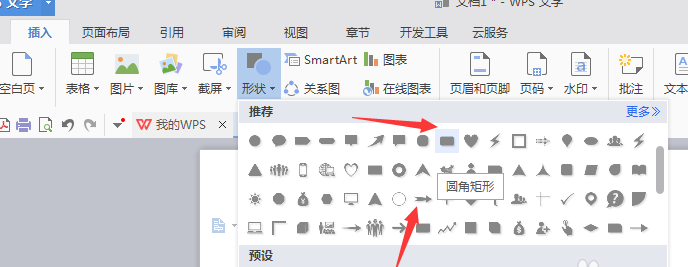
3、在“形状”里面选择需要的图形。这里要使用的是推荐里面的图形。
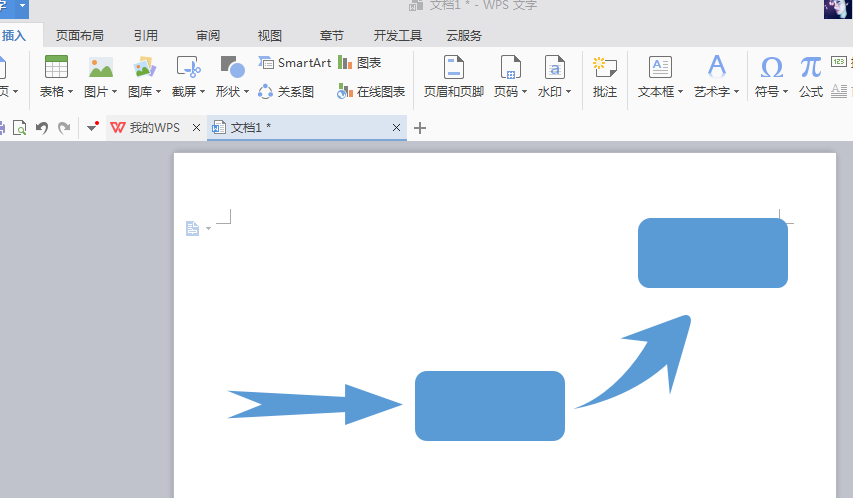
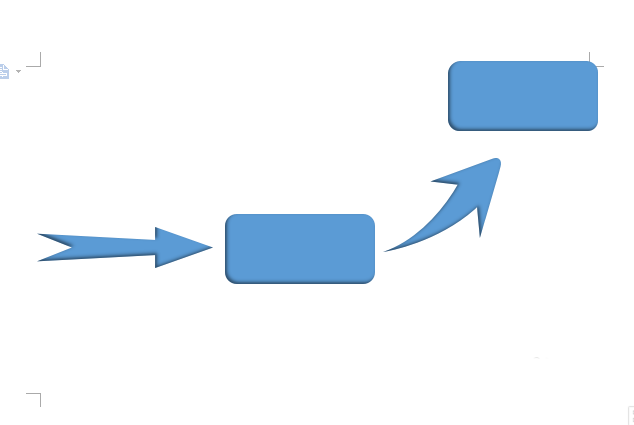
4、选择好图形之后,在文档中画出来,并布置好。
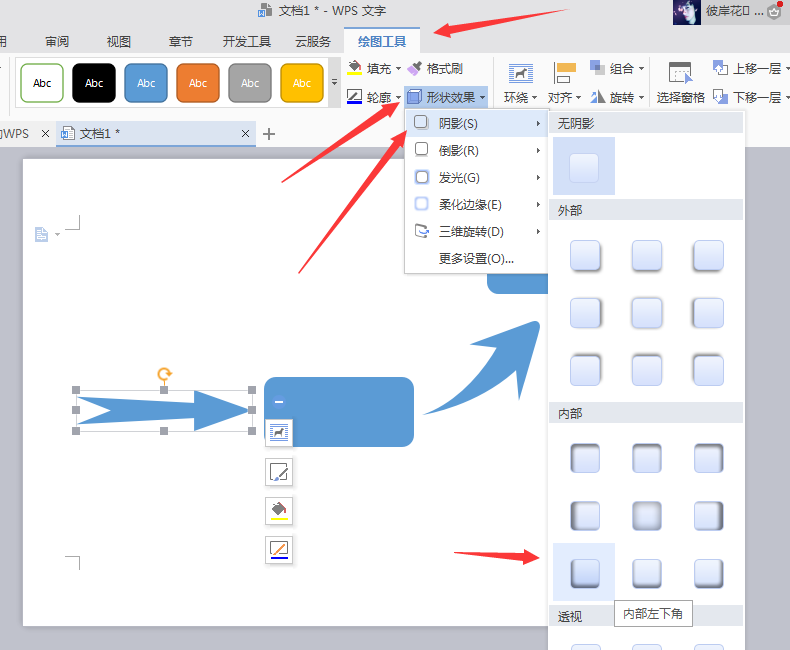
5、现在要把图形设置出立体感,点击图形后在“绘图工具”里面点击“形状效果”,选择“阴影”,然后选择内部“内部左小角”。把所有图形改变了。当然还有更多选项,比如设置发光效果等。
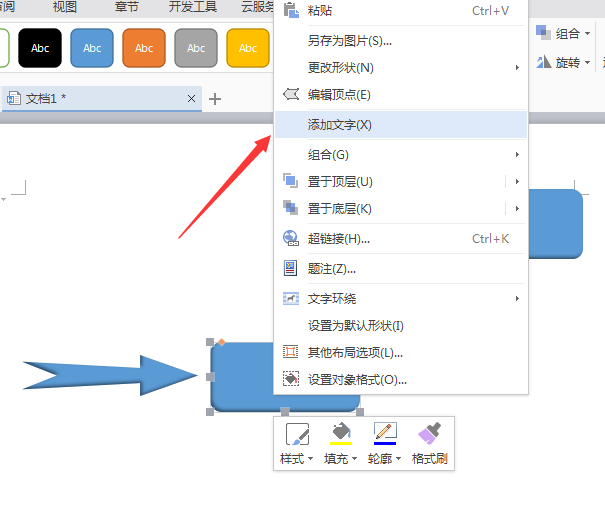
6、最后就是给流程图添加文字了,点击图片后点鼠标右键,选择“添加文字”。然后把文字添加进去。
7、文字添加完毕,流程图也就完成了。
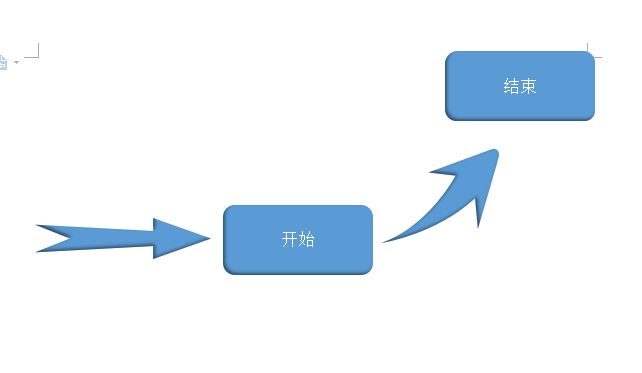
按照上文为那么分享的使用wps绘制出立体流程图的具体操作方法,你们自己也赶紧去绘制吧!
相关文章:
排行榜
 网公网安备
网公网安备