文章详情页
使用wps绘制出一个隐隐发光红色心形具体操作方法
浏览:100日期:2023-01-08 10:47:56
听说使用wps还可以绘制出一个隐隐发光的红色心形,你们了解绘制的方法吗?下文就带来了使用wps绘制出一个隐隐发光红色心形的具体操作方法。

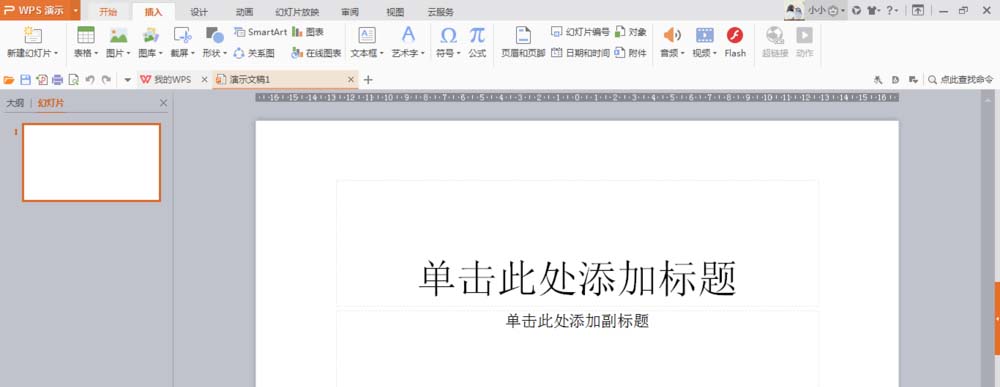
1、打开wps演示后新建一个演示文稿。点击插入。
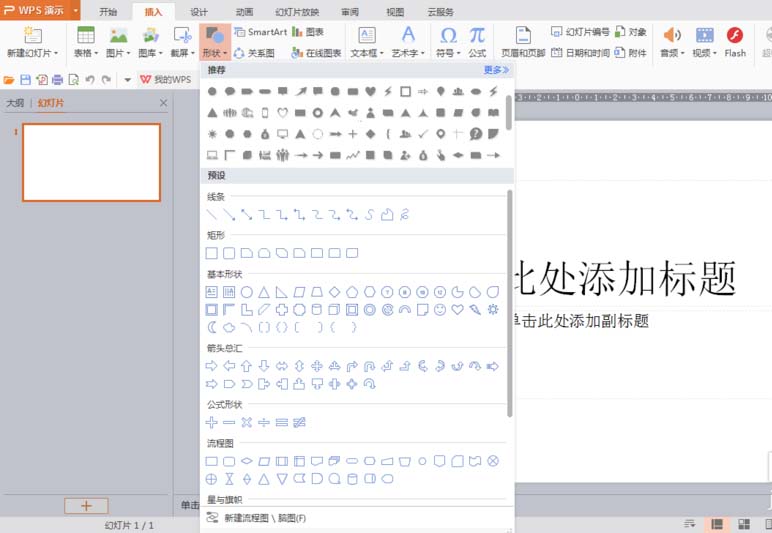
2、点击形状,点击推荐里的心型。按住鼠标右键在文稿上画上红心。
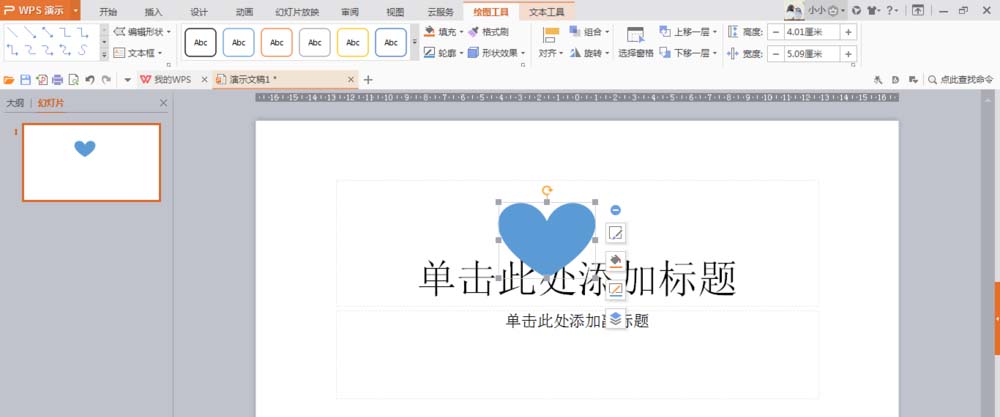
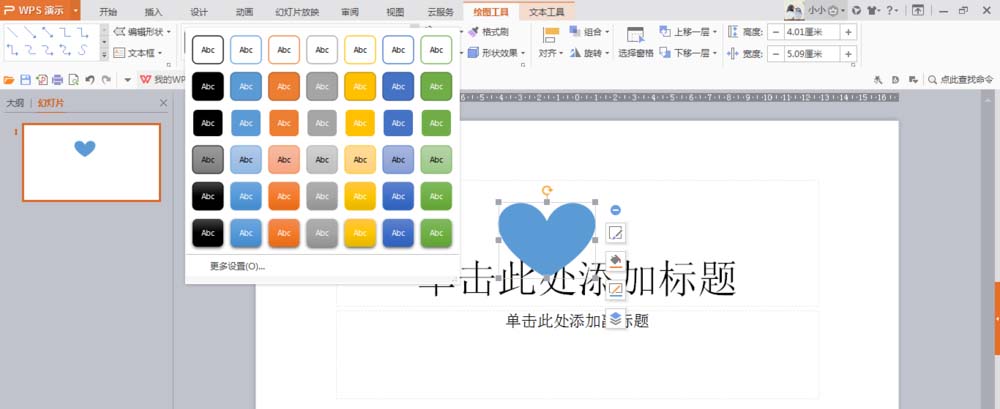
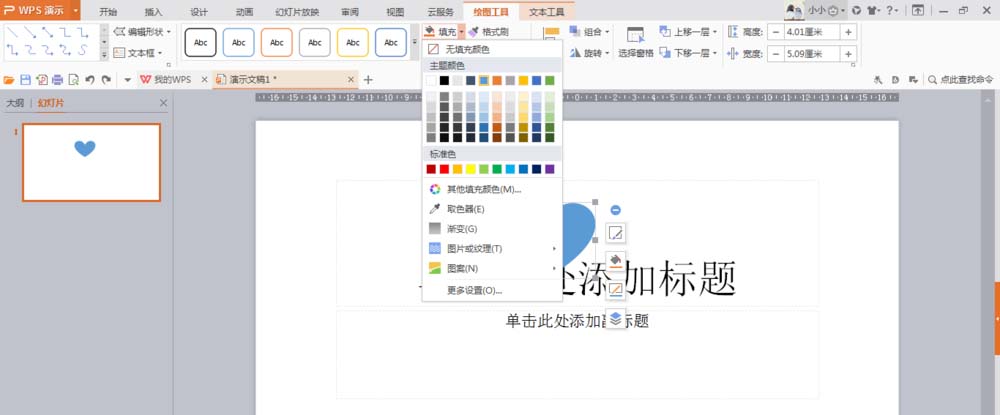
3、点击上方出现的图形并没有合适的图形,这时候应当点击右边的填充,选择红色。
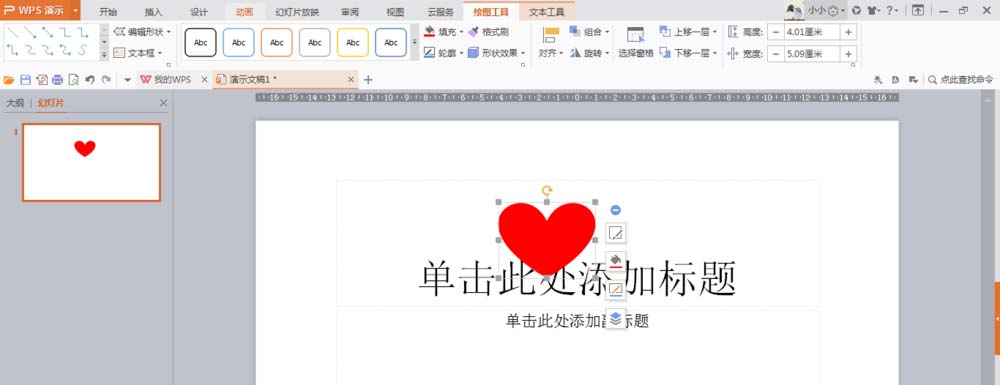
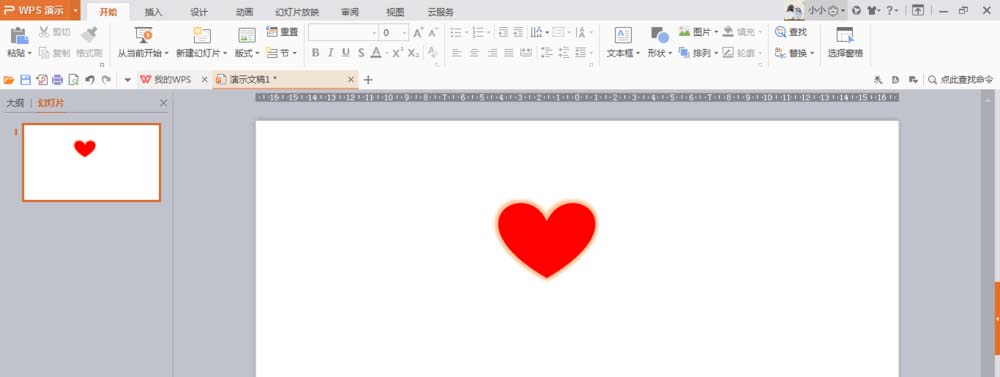
4、文稿上就出现红色了,删除掉多余的文本框。
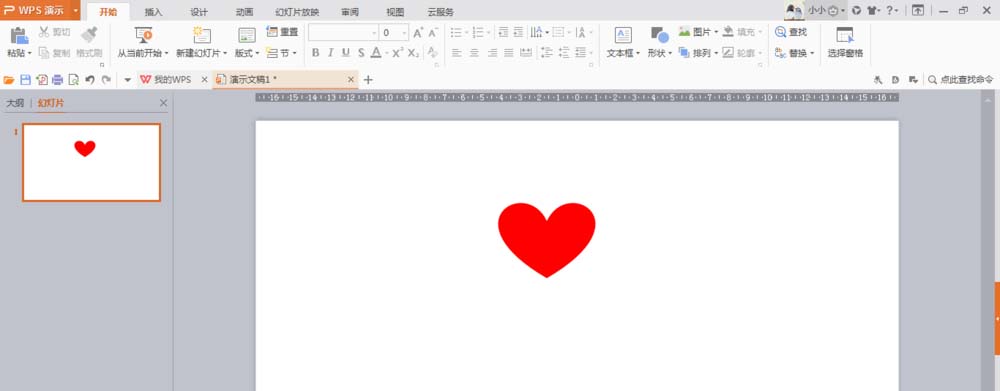
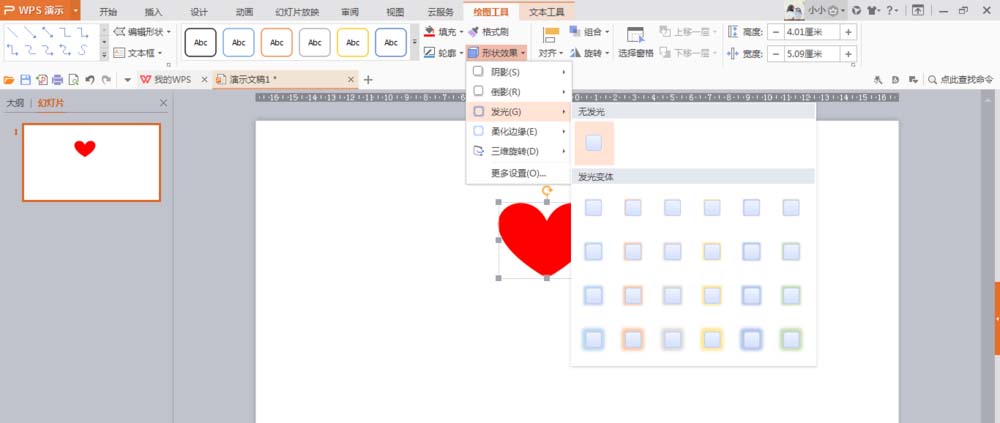
5、点击上方的形状效果,点击发光里选择合适的选项。这样就完成了发光红心的制作。
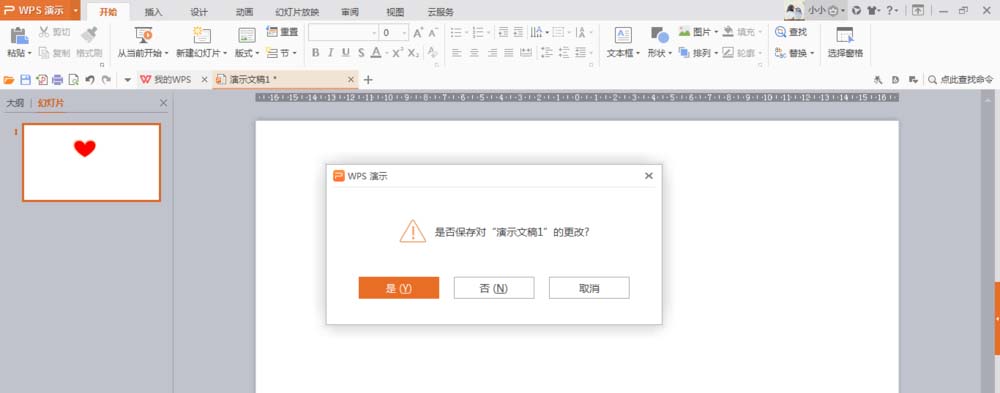
6、点击右上角的叉号,按照流程保存即可。
按照上文为你们分享的使用wps绘制出一个隐隐发光红色心形的具体操作方法,你们自己也赶紧去试试吧!
上一条:手机QQ中查收红包具体操作步骤下一条:巧影制作出抖音动画效果具体操作流程
相关文章:
排行榜

 网公网安备
网公网安备