文章详情页
wps office2019设置背景图片具体操作流程
浏览:70日期:2023-01-20 16:36:18
想了解wps office2019设置背景图片的方法吗?那就跟随小编去下文看看wps office2019设置背景图片的具体操作流程。

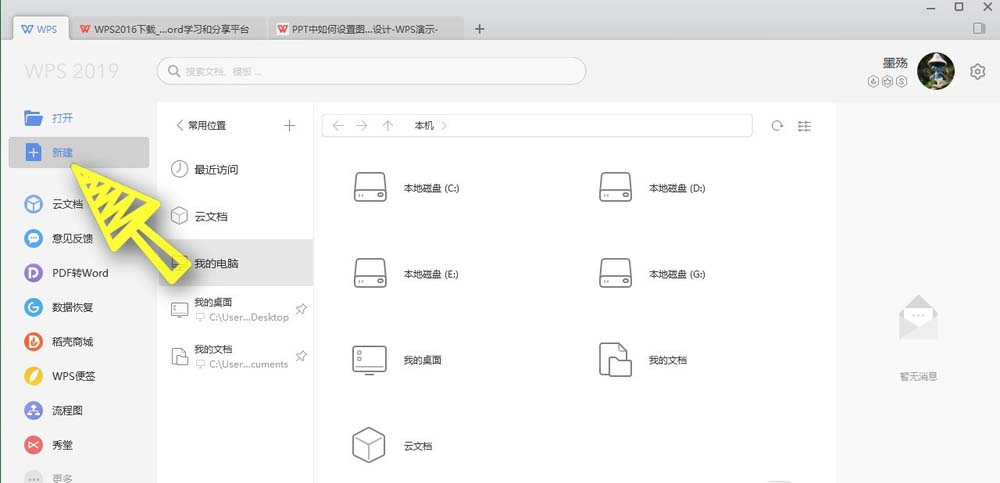
1、首先,我们打开wps office,然后点击左侧的新建按钮,如下图所示,
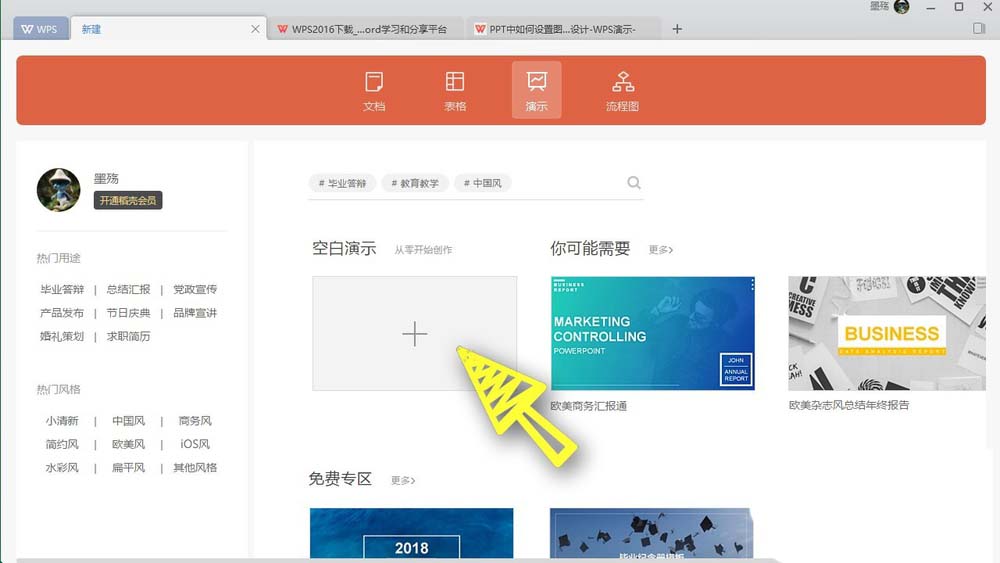
2、然后我们选择新建一个空白的ppt文档,如下图所示,
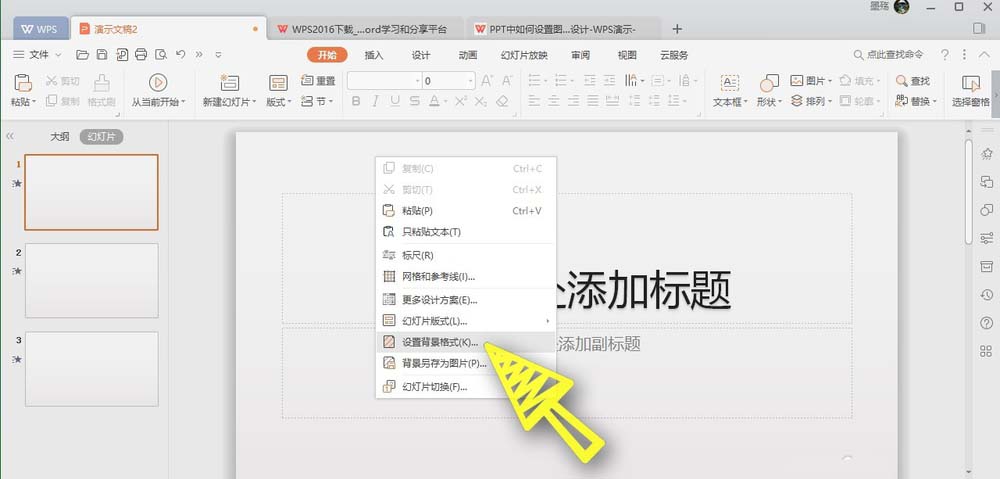
3、文档创建完成之后,我们在空白处点击鼠标右键,选择设置背景,如下图所示,
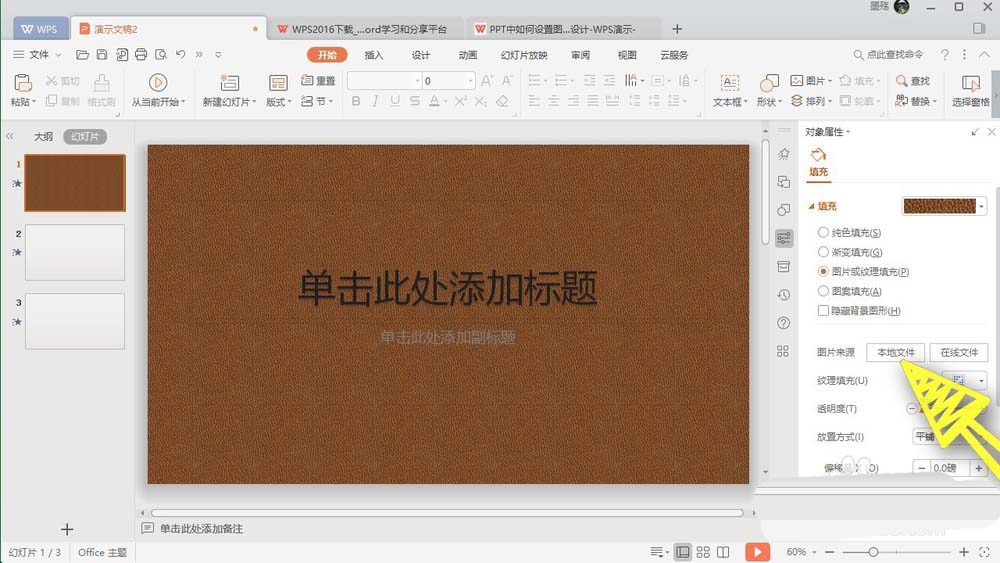
4、在右侧打开一个选项卡,我们勾选图片或者纹理填充,然后点击下方的本地文件,如下图所示,
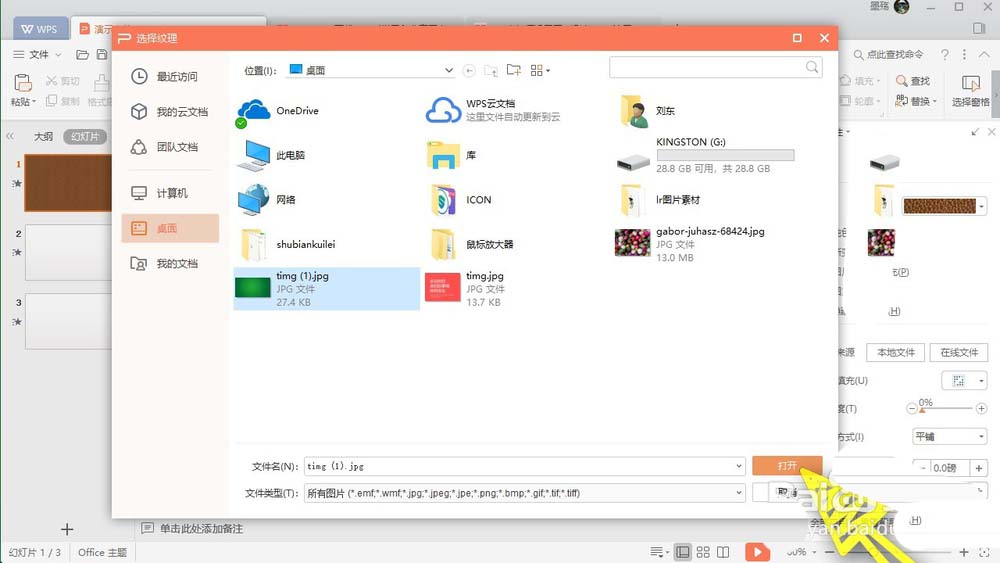
5、然后在文件夹中找到,我们想要作为背景的图片,选中之后点击下方的打开按钮,如下图所示,
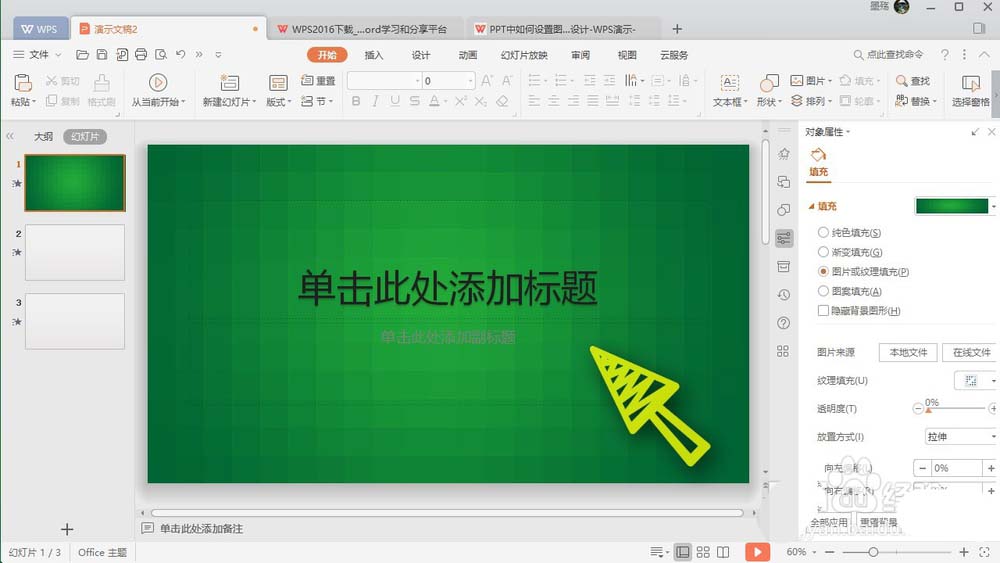
6、最后我们可以看到,这个幻灯片的背景,就是我们所设置的图片背景,如下图所示,
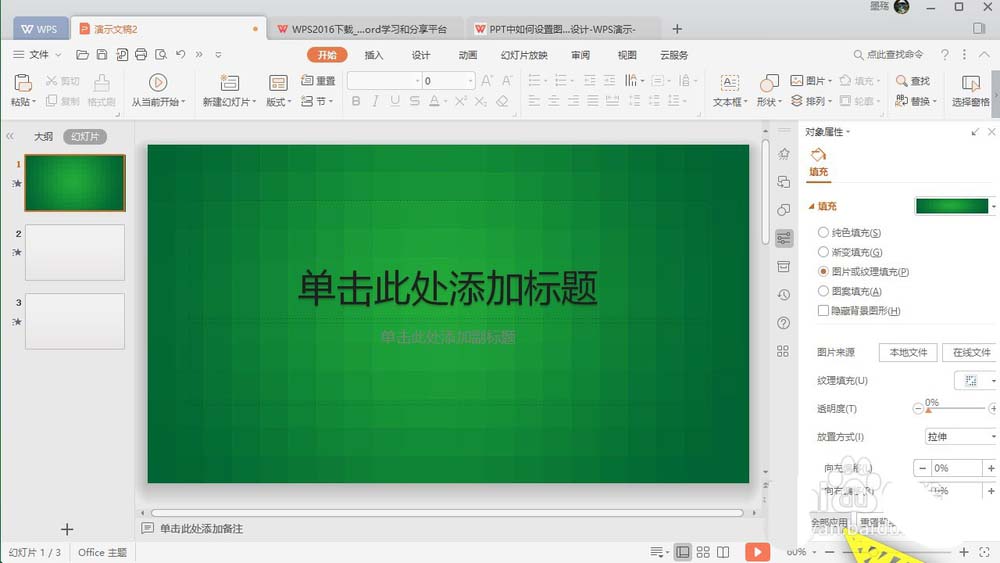
7、我们也可以点击右下角的全部应用,把这一个背景应用到所有幻灯片上面,如下图所示,
依照上文为你们分享的wps office2019设置背景图片的具体操作流程,你们是不是都学会啦!
相关文章:
排行榜

 网公网安备
网公网安备