文章详情页
WPS2019中将文件恢复具体操作步骤
浏览:150日期:2023-02-04 17:58:33
使用WPS2019无意见将文件删除了,该怎么恢复呢?下文就为你们带来了WPS2019中将文件恢复的具体操作步骤。

一、会员恢复方法
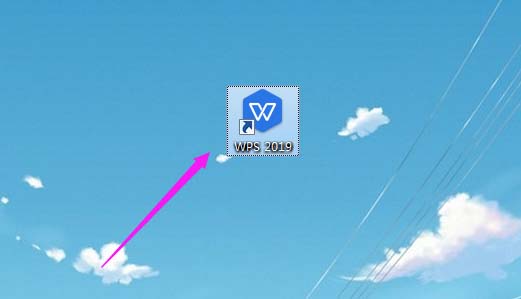
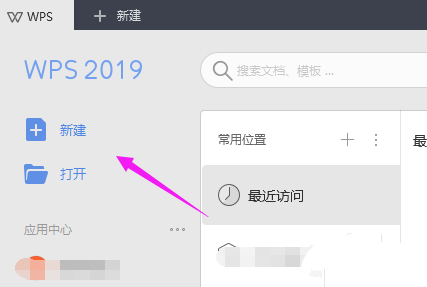
1、WPS 2019文档怎么恢复,WPS 2019恢复文档方法,鼠标单击WPS 2019,如图。
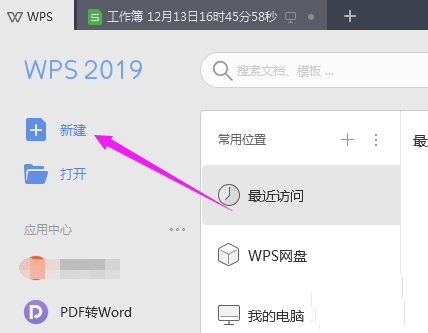
2、鼠标单击WPS 2019之后,接着我们就来单击下【新建】,随意的建立一个文档(主要为了进入文档设置),如图。
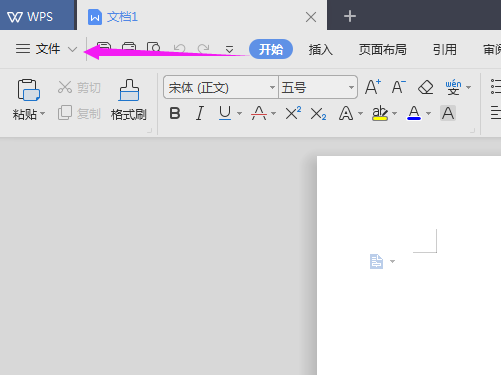
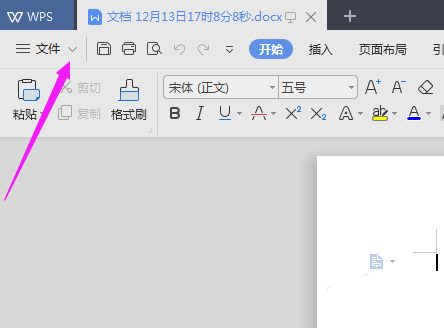
3、随意的建立一个文档后,鼠标点下【文件】右侧下拉,如图。
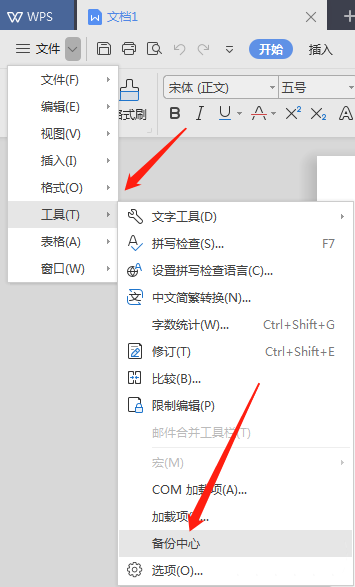
4、鼠标点下【文件】右侧下拉后,选择【工具】-【备份中心】,如图。
5、选择【工具】-【备份中心】之后,选择下【一键恢复】,如图。
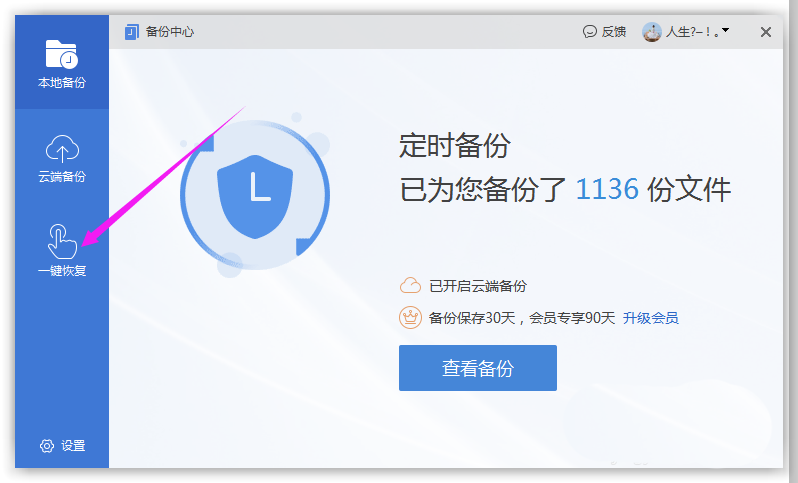
6、选择下【一键恢复】之后,点开【启用文档修复】,如图。

7、点开【启用文档修复】后,点触开【找回丢失文档】,如图。
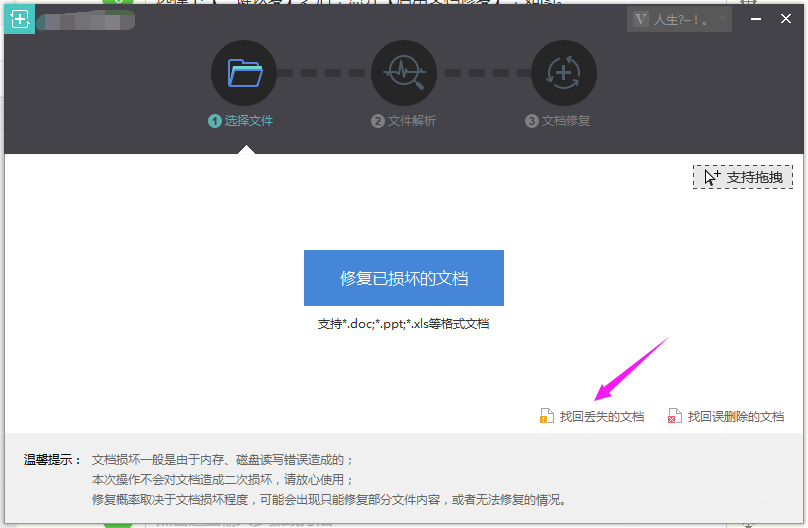
8、点触开【找回丢失文档】之后,接着点开【我们要确认恢复的文档】,点开【确认恢复】就OK了,如图。

二、免费恢复方法
首先需要开通了自动保存的话,那么,我们的电脑意外关机,我们也是可以恢复文件的。这个方法不需要会员不需要花钱。
1、WPS 2019免费恢复文件?WPS 2019免费恢复文档,双击点开WPS 2019图标下,如图。

2、双击点开WPS 2019图标下之后,小编随意新建空白文档,如图。
3、小编随意新建空白文档之后,依旧还是和之前一样操作,点开【文件下拉项】,如图。
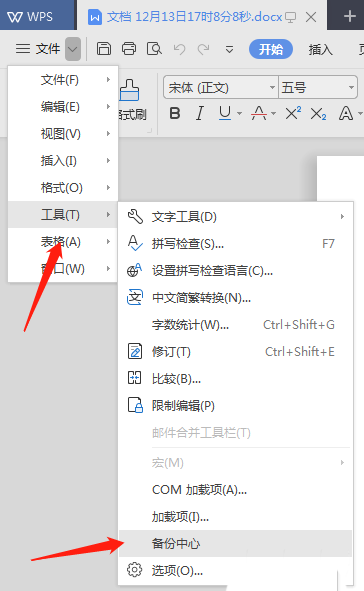
4、点开【文件下拉项】之后,鼠标单击开【工具--备份中心】,如图。
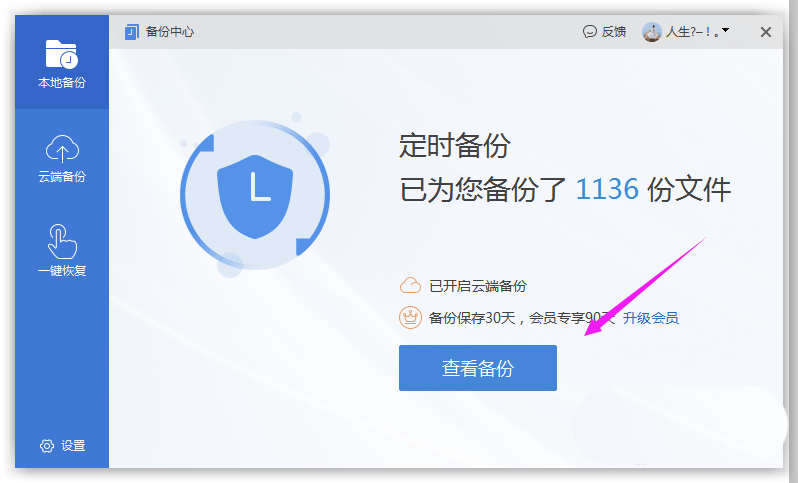
5、鼠标单击开【工具--备份中心】之后,选择【查看备份】,如图。
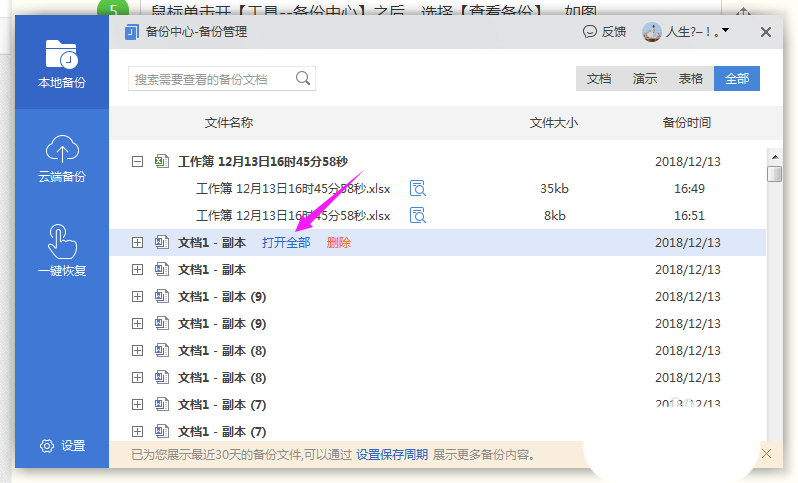
6、选择【查看备份】之后,随意点开一个我们最近编辑的文件进行恢复,选择【打开全部】,如图。
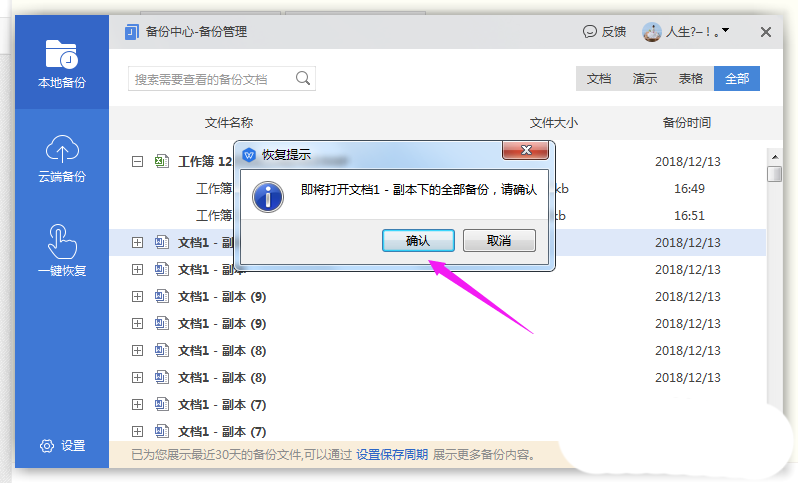
7、选择【打开全部】之后,点开【确认】,我们就恢复文件完成了,如图。
根据上文为你们讲述的WPS2019中将文件恢复的具体操作步骤,你们是不是都学会恢复的方法啦!
相关文章:
排行榜

 网公网安备
网公网安备