文章详情页
使用wps2019绘画弦形的具体操作流程
浏览:121日期:2023-02-06 08:12:39
很多的小伙伴们都在使用wps2019,那么你们知道使用wps2019如何绘画弦形吗?在此篇文章内就带来了使用wps2019绘画弦形的具体操作流程。

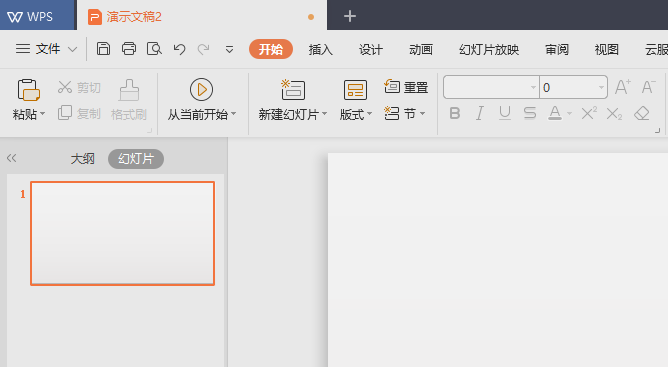
1、首先,我们打开我们电脑上面的wps2019演示;
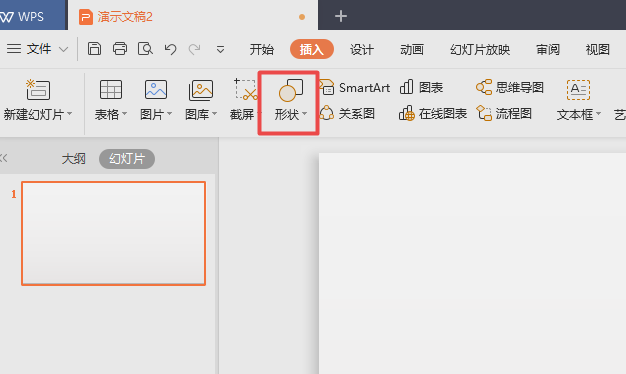
2、然后我们点击插入;

3、之后我们点击形状下方的下拉箭头;
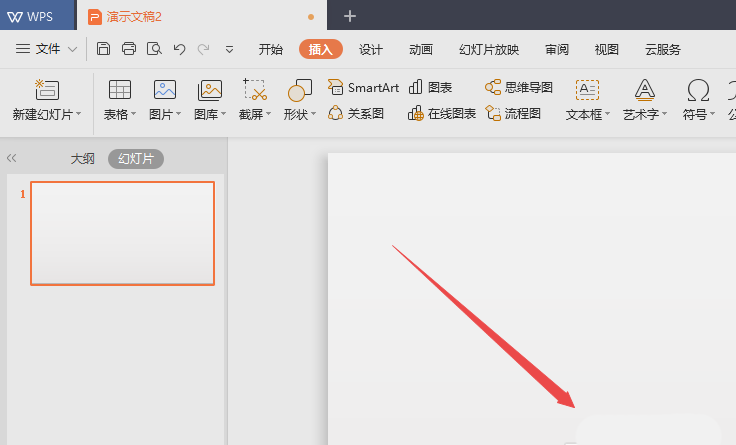
4、弹出的界面,我们点击弦形;

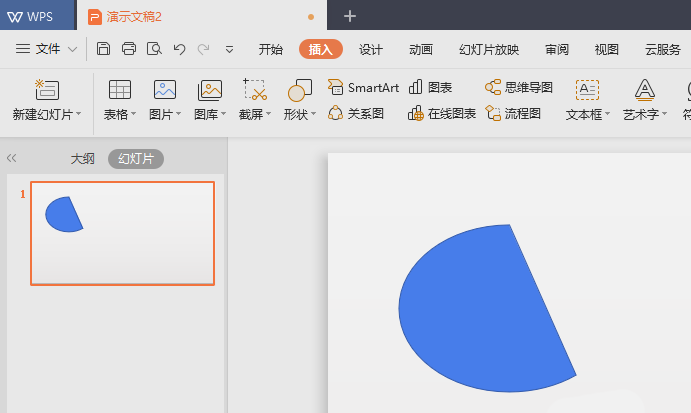
5、然后我们在文档中从上往下画一下;
6、之后我们就可以看到一个弦形了,我们点击空白处;
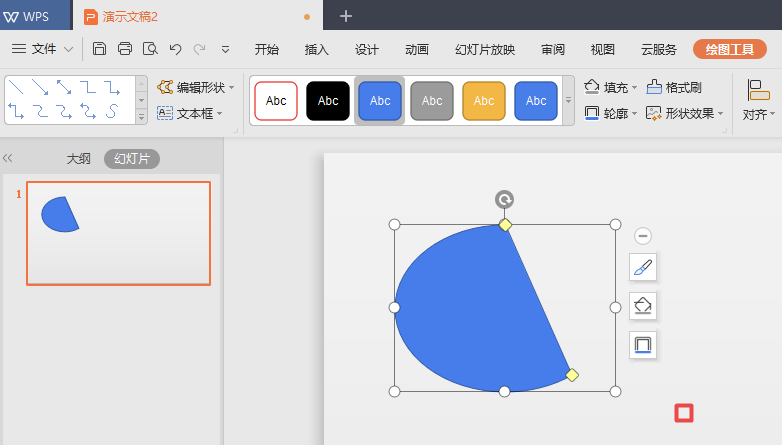
7、最终结果如图所示,这样我们就在wps演示中画出一个弦形了。
看完了上述为你们分享的使用wps2019绘画弦形的具体操作流程,你们自己也赶紧去绘画吧!
相关文章:
排行榜

 网公网安备
网公网安备