文章详情页
ps图像错位效果
浏览:40日期:2024-01-23 09:45:53
ps图像错位效果,喜欢的朋友可以一起来学习。 原图  最终效果图
最终效果图  1、用Photoshop打开原图,然后Ctrl+J复制图层,之后在两个图层中间再建立一个空白图层,然后填充为白色。
 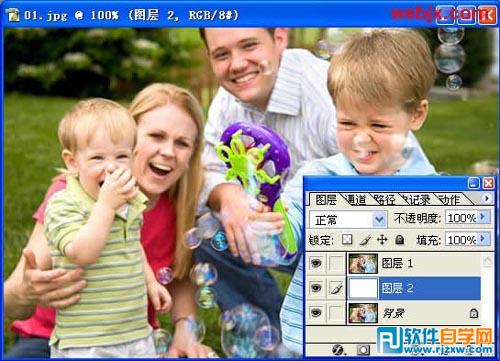 2、选择复制所得图层,也就是图层1,然后按M使用矩形选框工具,按Shift选择一个正方形区域。
 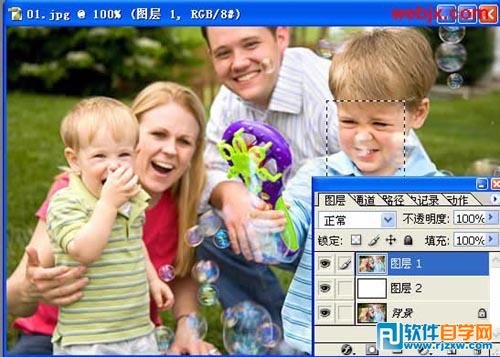 3、然后为该图层添加蒙板。
 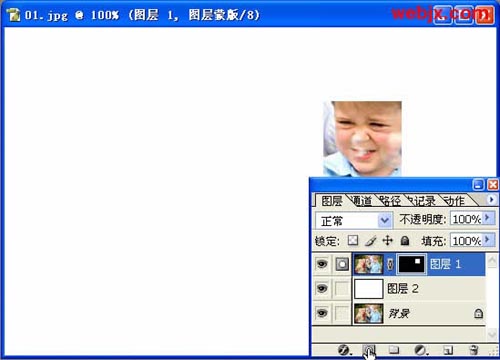 4、然后取消和蒙板的连接。
  5、之后添加外发光样式。
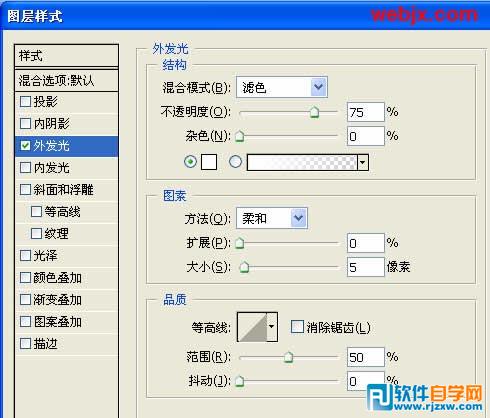
最终效果图 1、用Photoshop打开原图,然后Ctrl+J复制图层,之后在两个图层中间再建立一个空白图层,然后填充为白色。 2、选择复制所得图层,也就是图层1,然后按M使用矩形选框工具,按Shift选择一个正方形区域。 3、然后为该图层添加蒙板。 4、然后取消和蒙板的连接。 5、之后添加外发光样式。 以上就是ps图像错位效果,希望大家喜欢,请继续关注好吧啦网。
相关文章:
排行榜

 网公网安备
网公网安备